中文说明:专业增强版/零售版/32位64位二合一镜像文件名称:ProPlus2019Retail.img文件大小:3.51GBSHA1:d850365b23e1e1294112a51105a2892b2bd88eb9SHA256:f5bea5517a3879792c39127db77aa7e766b4a9897bf52bed0c7e5dc70ccbc3f8下载......
如何自定义安装 Office 2019 and Active
Office教程
2021-09-24 09:22:46
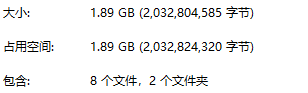
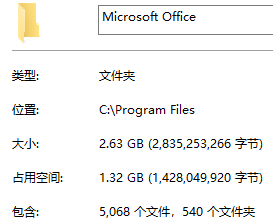
本文介绍自定义安装官方Microsoft Office 2019的方法,包括下载、安装 and 手动KMS Active。担心全套安装占用空间太大、喜欢简洁的同学可以考虑学习一下。老本这次就只安装Word、PowerPoint、Excel,总共下载文件大小1.89GB,安装完成后总大小2.63GB,占用空间1.32GB。这里占用空间比文件大小要小,这可能和文件以及文件系统有关,老本没有深究。
下面开始,注意office 2019只支持Windows 10。
下载Office Deployment Tool
https://www.microsoft.com/en-us/download/office.aspx
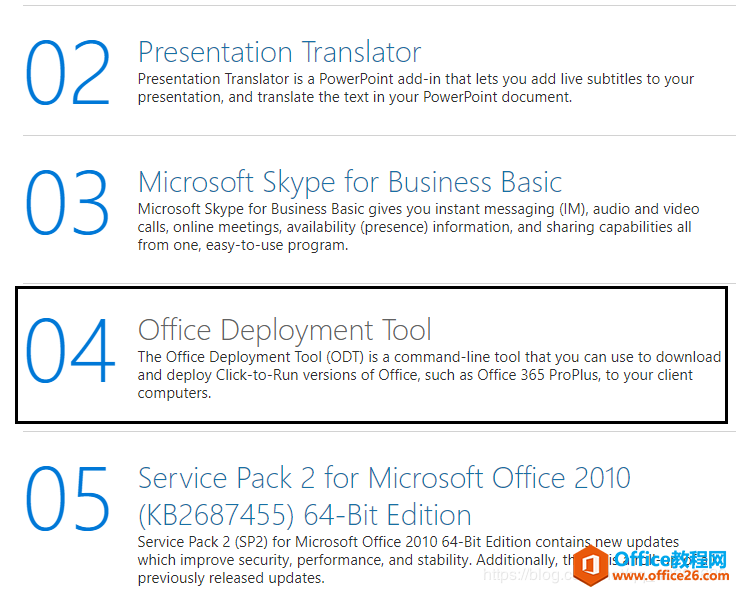
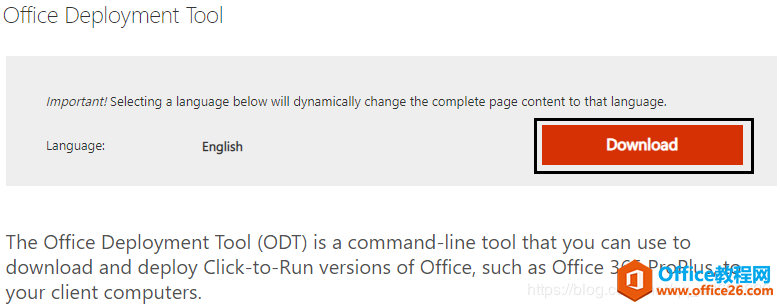
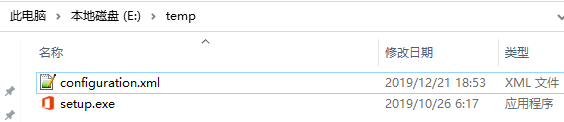
我们得到一个类似这样的文件:officedeploymenttool_12130-20272.exe。双击运行解压,指定一个目录,得到如下四个文件:
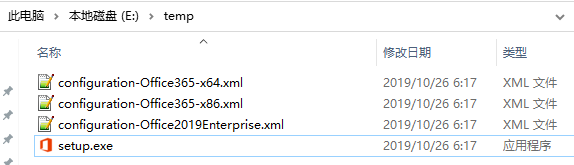
这里只需要保留setup.exe,其它的预设xml配置文件可以删掉,我们接下来要自己生成配置文件。
创建自定义配置文件
https://config.office.com/
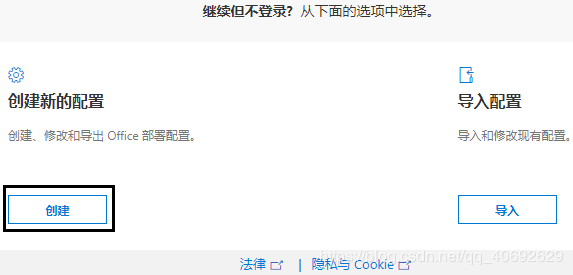
以下结合自己需要选择,仅给出需要注意的地方,没有特殊说明的,按照图中选择就好。
产品这项,Office Suites老本选择Standard版,你要是觉得professional高大上那也可以选择,但老本觉得没必要。Visio以下那些都不用理他,如果你好奇点开了下拉列表看,那就选无。

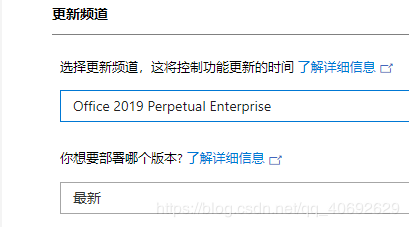
更新频道,选择Perpetual Enterprise,实际这里只有一项,可以自己点开下拉列表看看。部署版本选择最新。
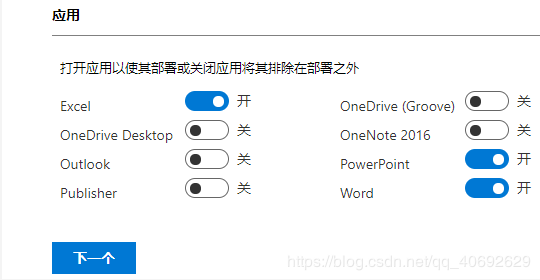
应用,这里就是全套所在的地方了,根据需要选择。老笨只选excel、PowerPoint、word。
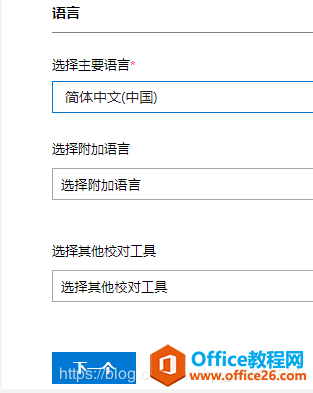
语言就简体中文好了,附加和校对不用理会。
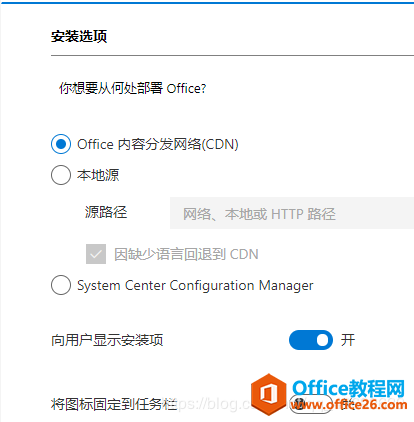
从何处部署,默认CDN就好。登录-关。
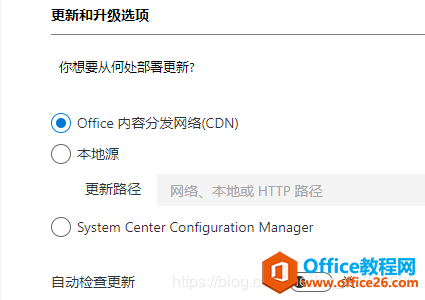
自动检查更新-关。
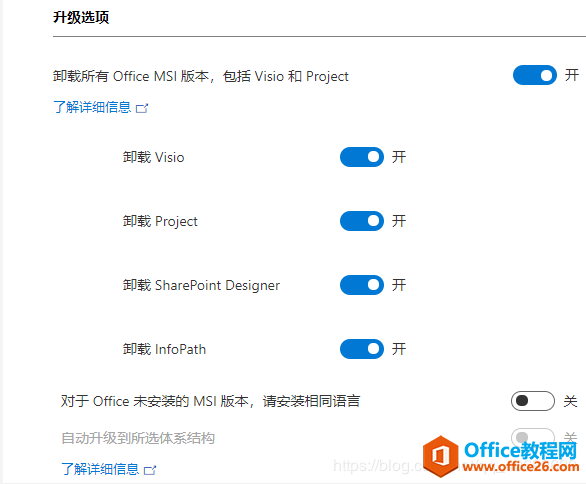
升级选项,卸载老版本这里老笨全打开。需要注意,虽然这里安装之前卸载选项开启了,但老笨还是建议,安装office2019之前手动把旧版本卸载了,然后重启电脑,再进行新版本的安装。
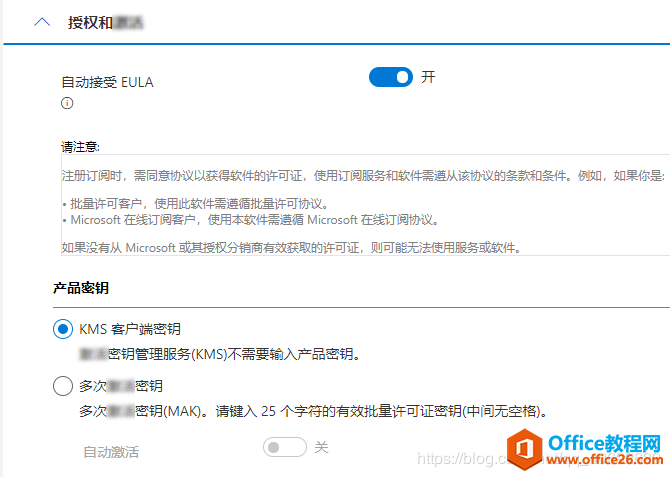
自动接受EULA开启就好,反正出现条款你也只能同意同意下一步。产品密钥就选KMS客户端密钥,方便Active。
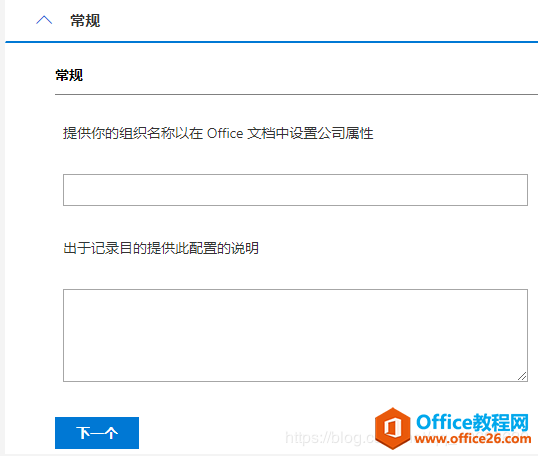
常规,留空白就好。如果你想个性化留下一些说明文字也可以。
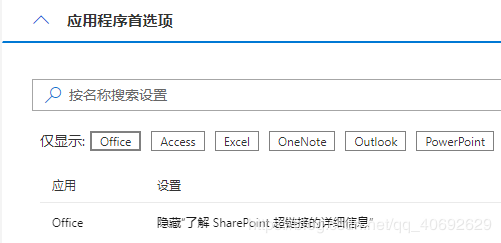
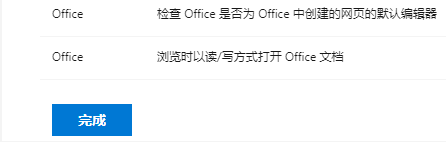
首选项这里不用里,直接到最下面点击完成就好。
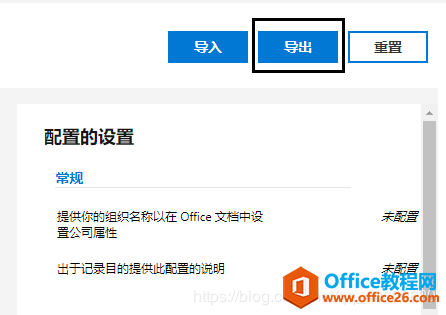
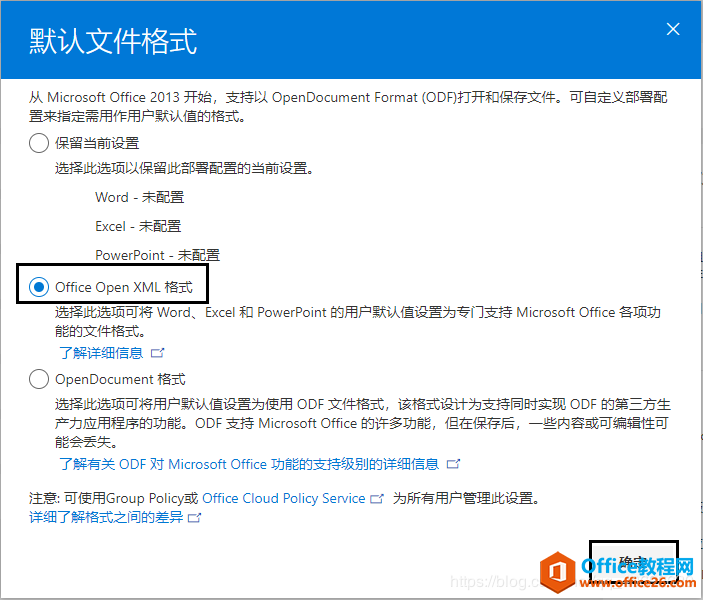
我们点击网页右边的导出,格式就选Office Open XML,名称自己定义,老笨就写configuration。
下面就是得到的configuration.xml:
下面是配置文件的内容:
配置文件的内容可能会随时更改,所以最好能自己去网页配置,以保证最新。
下载Microsoft Office 2019
使用命令的方式调用setup.exe,根据以上所得到的配置文件configuration.xml下载所需的组件。
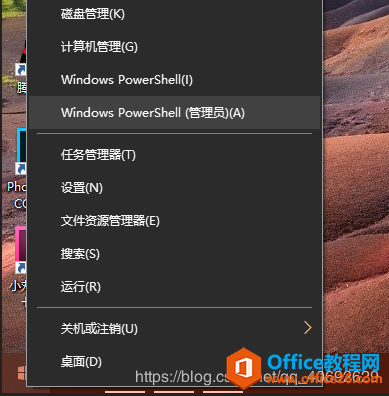
右键开始图标,打开power shell(管理员):
cd到configuration.xml和setup.exe所在的文件夹:cd E:\temp
执行命令:.\setup.exe /download configuration.xml
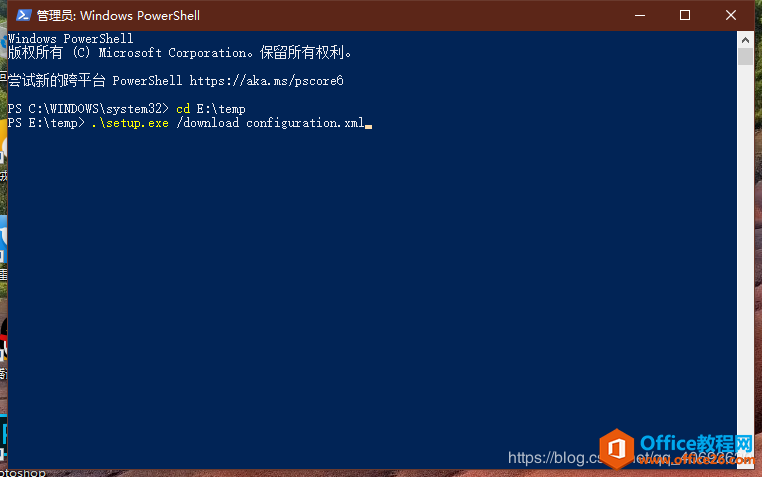
按下回车之后开始下载,此过程没有任何进度提示,不要关闭power shell窗口,想查看速度的就自己打开任务管理器看咯。下载完成之后,power shell会返回到E:\temp目录,即第三行显示PS E:\temp且光标闪烁。下载的文件放在目录下的Office文件夹内,整个文件夹1.89GB左右。
安装Microsoft Office 2019
同样的,还是用命令方式,还是同样的那个setup.exe,还是在上述的temp目录下,power shell执行:
.\setup.exe /configure configuration.xml
注意参数,这次是configure。
回车之后,就可以看到安装程界面,是不是很棒。
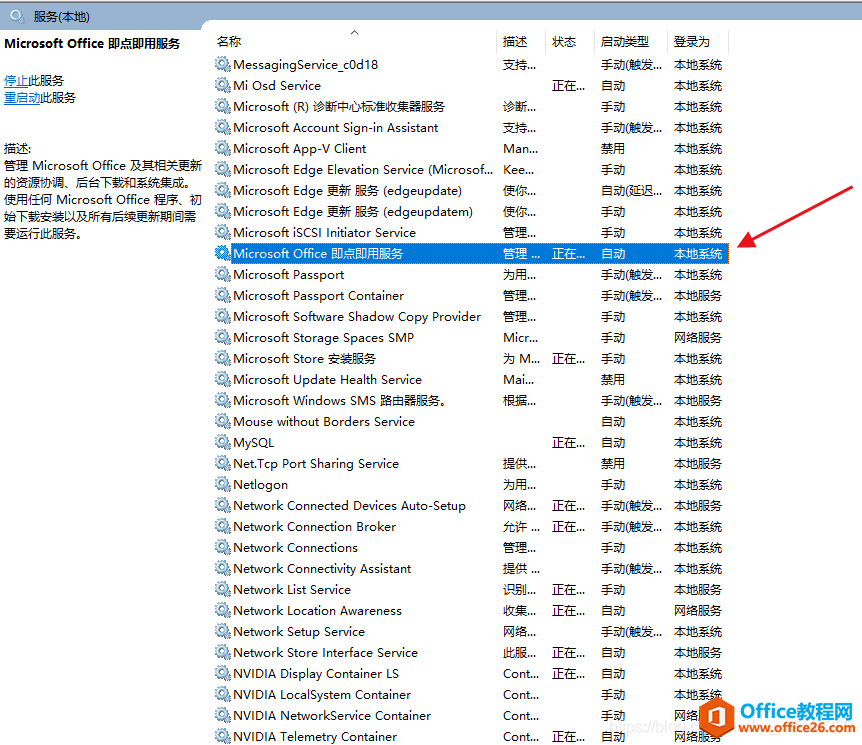
安装完成后的空间占用情况:
可能还有一些其它目录,但主要文件都在这个目录下。
手动KMS Active
按照上述方式安装,是不需要输入任何密钥的!实际上安装密钥已经在configuration.xml配置文件中,但注意这只是安装密钥,不是Active密钥,这正是KMS版的特性。Active我们只需手动设置KMS服务器,不需要借助任何其它软件!不需要借助任何其它软件!不需要借助任何其它软件!老笨说了三遍,同学们应该了解老笨的用意:安全无顾虑。
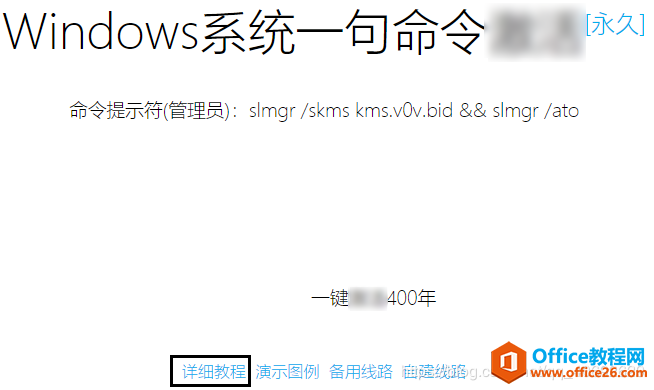
我们先来看看KMS服务器,打开https://v0v.bid/,OK,不要着急输入命令!那是System Active命令,不是我们想要的office。淡定的点开下面的“详细教程”:
打开之后看到下面的第二点:
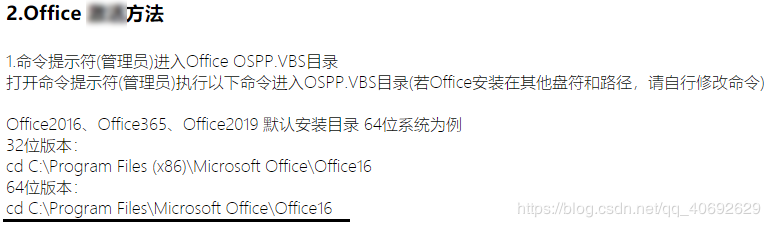
根据以上路径参考,我们来到自己安装的路径:
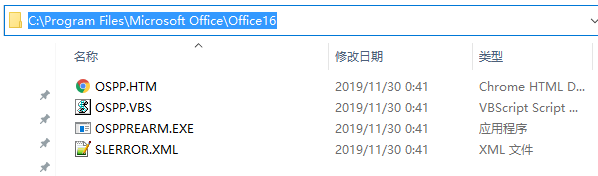
打开power shell,执行:
cd "C:\Program Files\Microsoft Office\Office16"
cscript ospp.vbs /sethst:kms.v0v.bid ; cscript ospp.vbs /act
过一会看到下边的successful,很开心吧,可以关掉power shell窗口了。
注意:
1.路径C:\Program Files\Microsoft Office\Office16包涵空格,所需要加英文双引号,而上面的E:\temp没有空格,所以不用加。
2.windows power shell不识别 “&&”,所以用的是英文分号“;”,作用是用来连接两个语句,和微零微给出的语句差别所在。
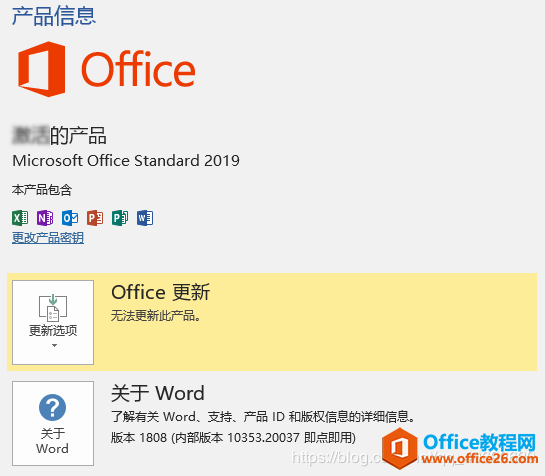
完成之后office就已经Actived,随便打开一个word文档,菜单栏文件-账户查看情况,很开心吧。
结语
上述的安装方法,可以实现自定义安装,可以说是非常简洁。但是,能不能节省空间,能节省多少空间,老笨也没有测试。至少看上去能省不少空间,非常简洁,用起来也舒适。
标签: 如何自定义安装Office2019andActive本文
相关文章
- 详细阅读
-
Office2021 安装/更新和完美激活全教程同时附上黑暗模式设置教程详细阅读

Office2021安装/更新和完美激活全教程同时附上黑暗模式设置教程Office2021改进1、office2021官方正式版提供了更好的工作环境。2、拥有更好的表格设计能力。3、在新版的Excel软件上增加了更好......
2022-04-19 72 Office office2021 office2021下载 office2021安装
- 详细阅读
- 详细阅读
- 详细阅读