什么是网络协议?网络协议指的是计算机网络中互相通信的对等实体之间交换信息时所必须遵守的规则的集合,是网络上所有设备(网络服务器、计算机及交换机、路由器、防火墙等)之间通......
虚拟机上安装Vmware虚拟化Esxi 6.7系统
电脑教程
2021-09-19 09:59:55
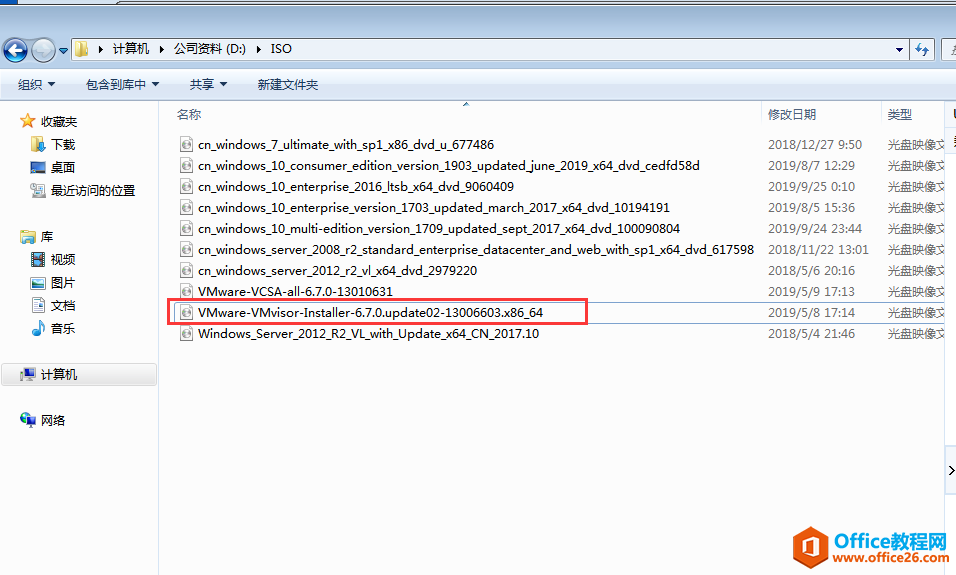
一、下载镜像
到VMware官方网站下载ESXi6.7系统镜像文件。
二、部署虚拟机
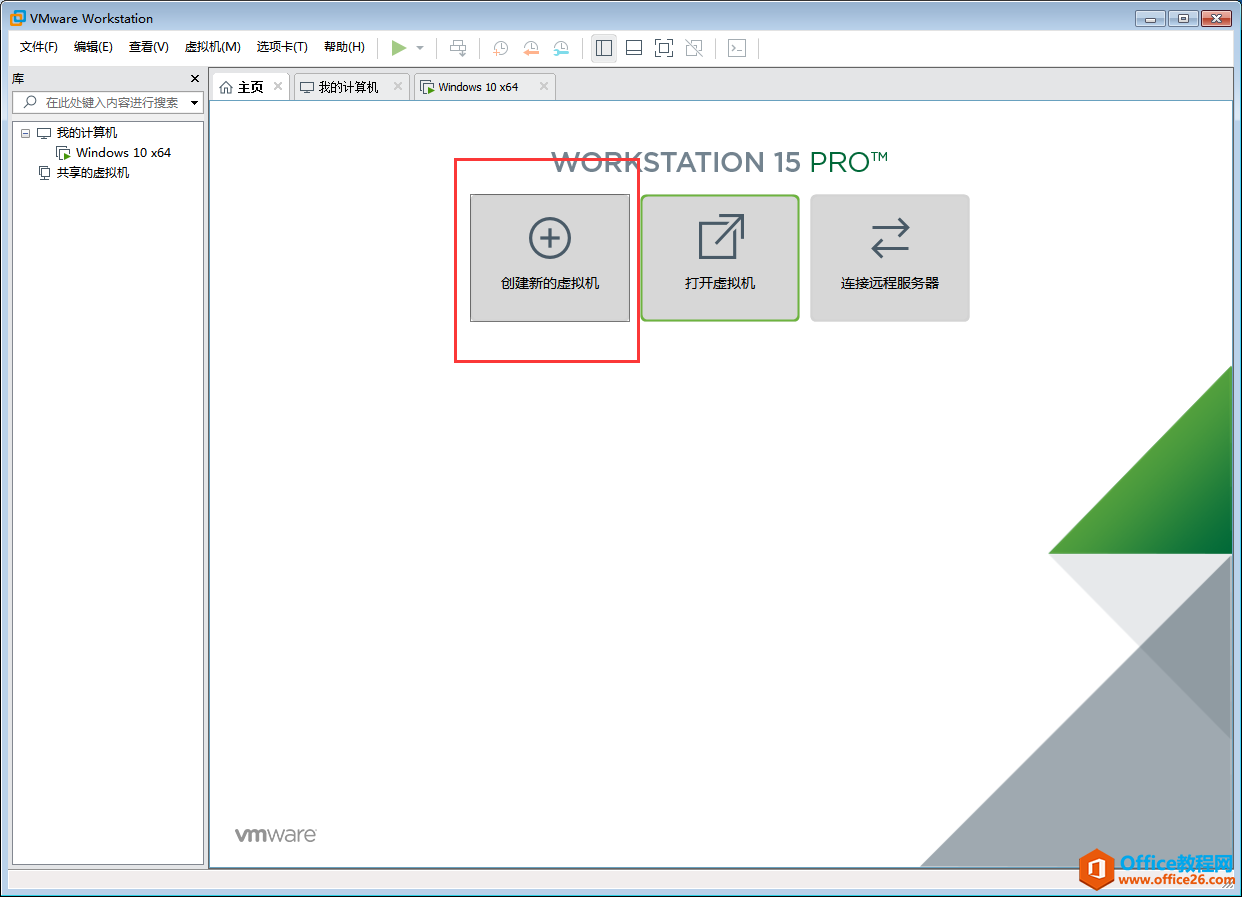
1、安装好虚拟机VMware Workstation后,创建虚拟机。
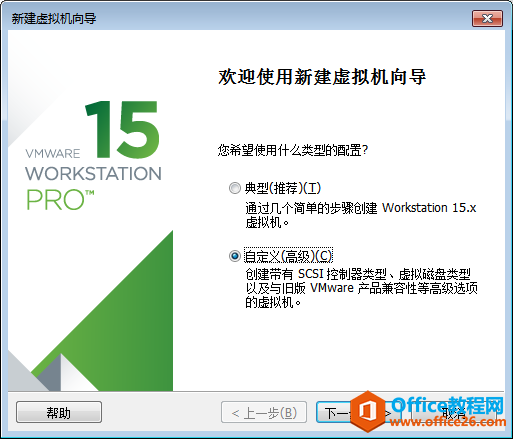
2、选择自定义(高级)。
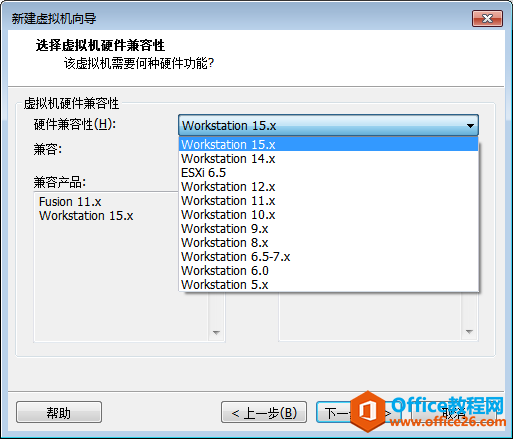
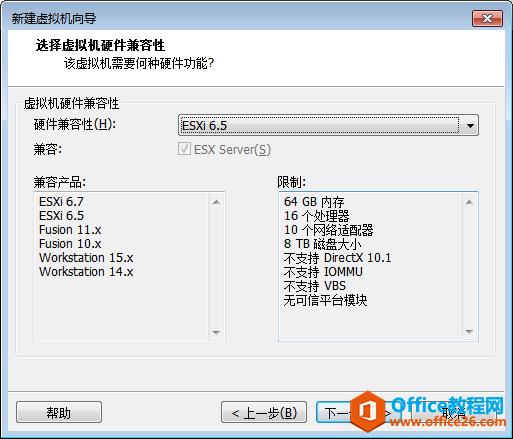
3、打开硬件兼容性,可以看到里面创建的硬件版本。
5、安装ESXi 6.7版本,但是里面只有硬件6.5版本,没有6.7版本。选择ESXi6.5版本后,可以看到此版本兼容产ESXi6.7和ESXi6.5版本。
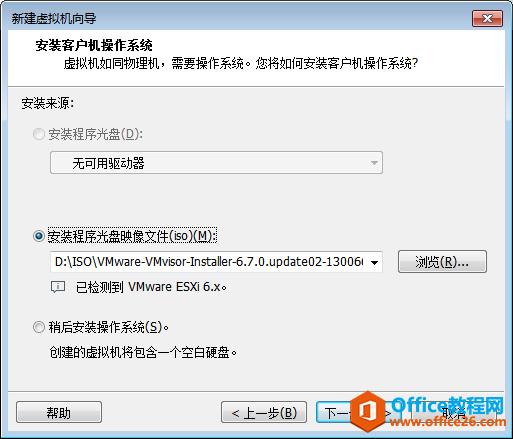
6、选择安装程序光盘映像文件。选择我们下载好的ESXi6.7镜像文件。
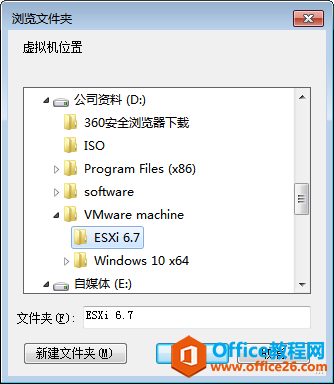
7、然后,新建一个文件夹,存放虚拟机。
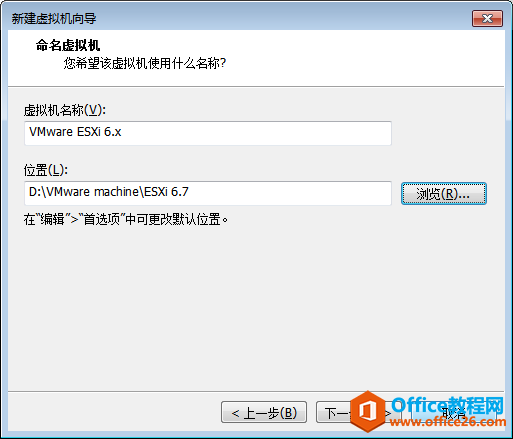
8、创建完成后,选择下一步。
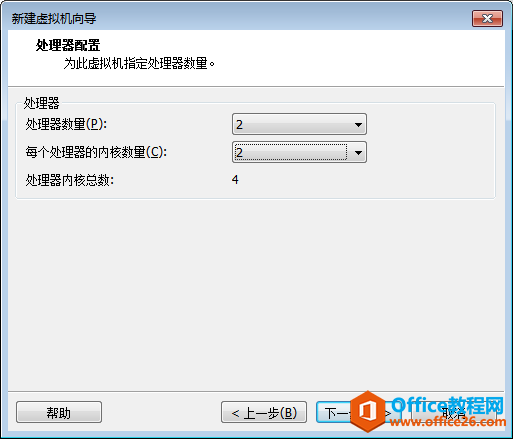
9、处理器数量与内核数量,可以自定义。
10、创建内存。

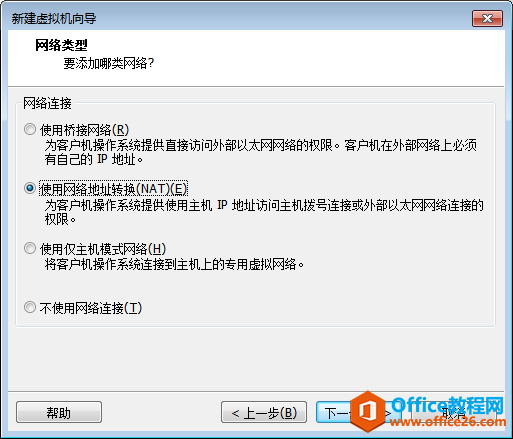
11、网络连接方式,选择使用网络地址转换(NAT)。
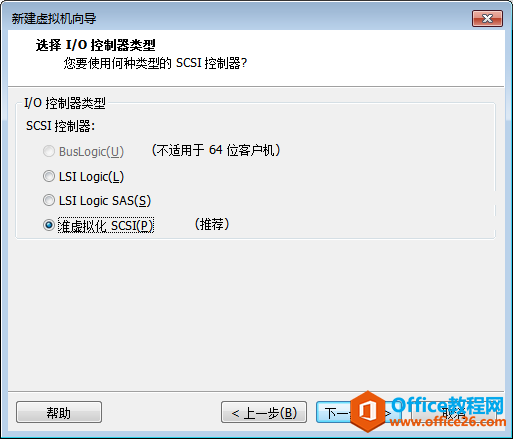
12、选择“准虚拟化SCSI(P)”。
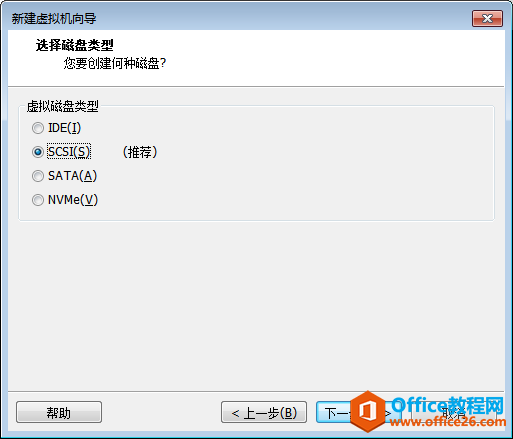
13、虚拟磁盘类型选择SCSI(S)。
14、创建新虚拟磁盘。
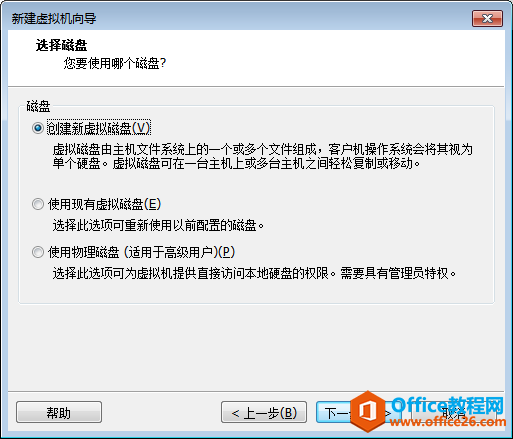
15、最大磁盘大小(GB),40GB,可以自定义。

16、创建磁盘文件。

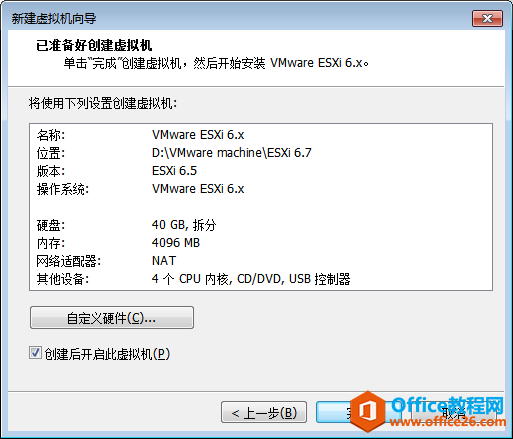
17、虚拟机创建完成。
三、ESXi6.7系统安装
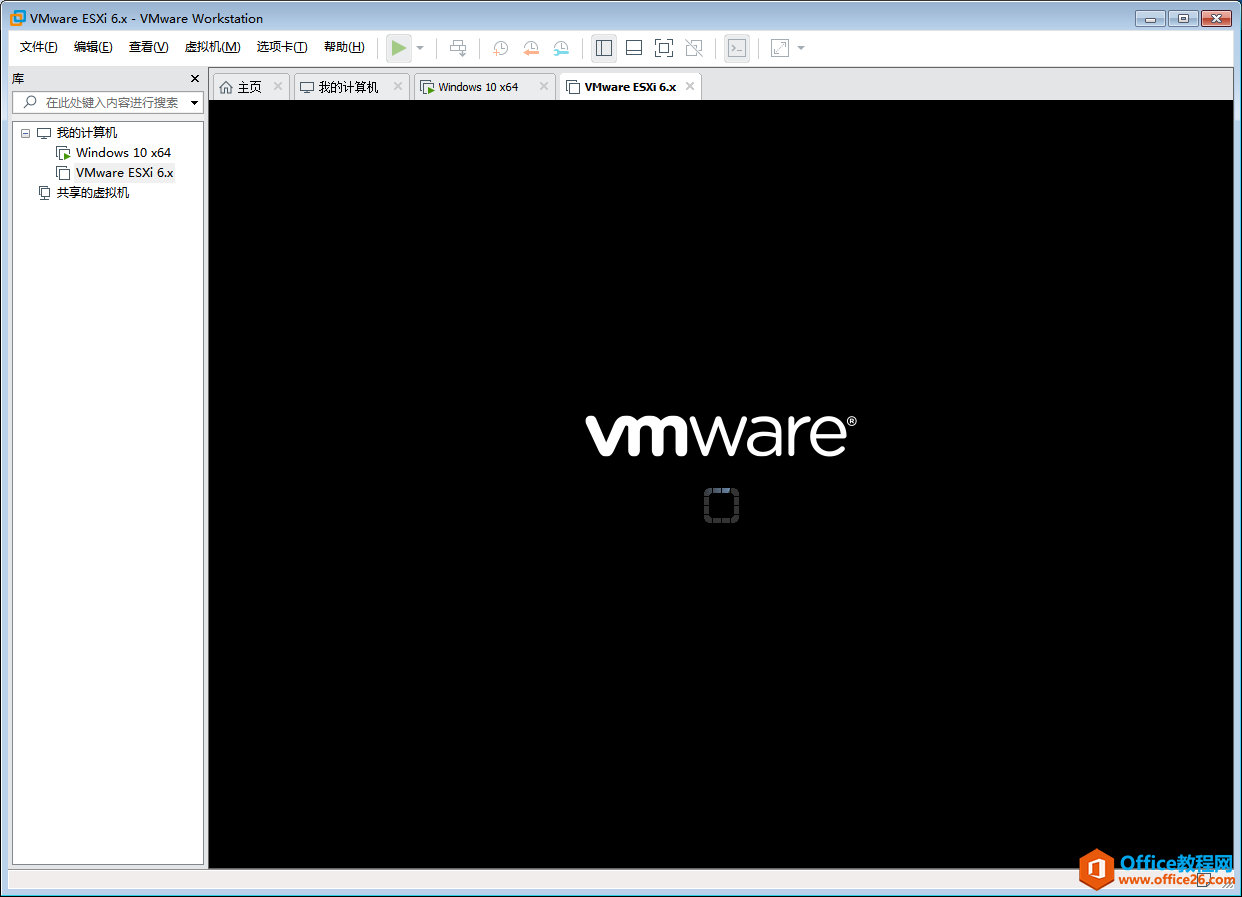
1、虚拟机开机,进行ESXi6.7安装。
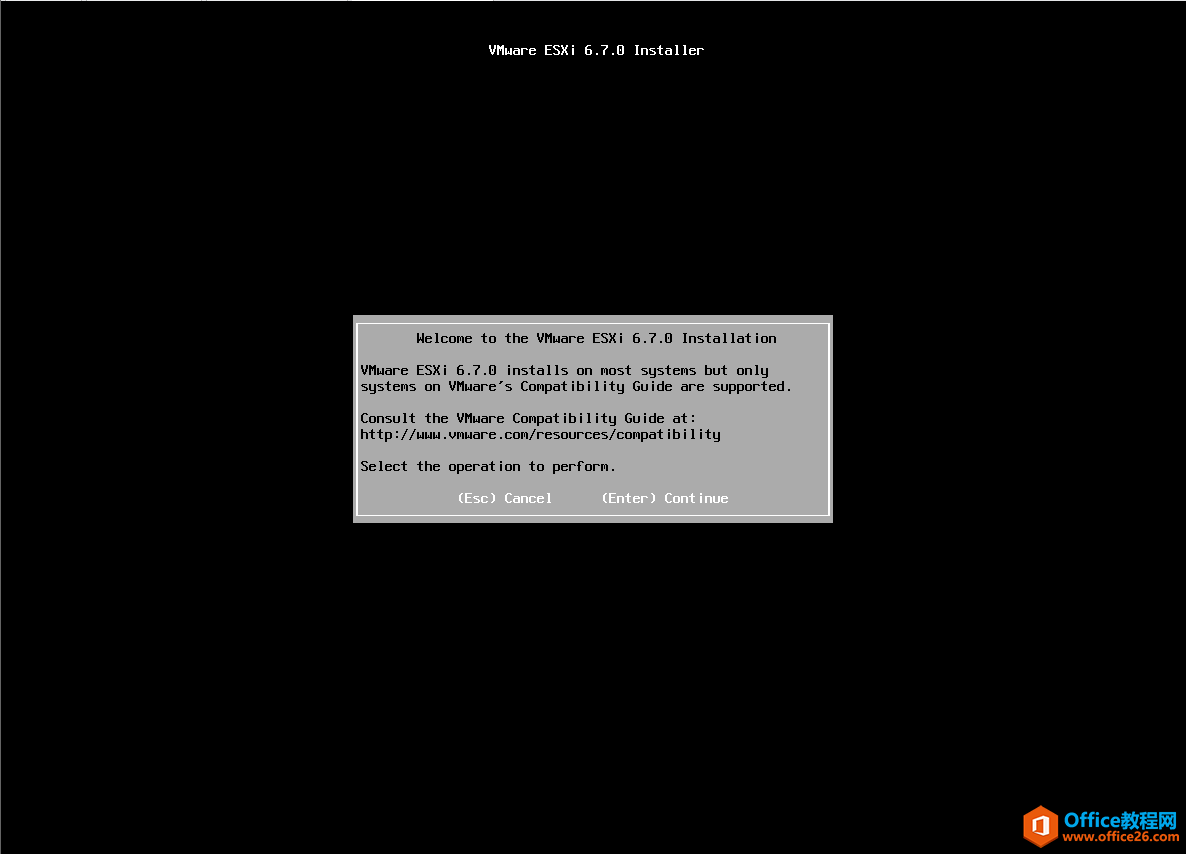
2、开始安装ESXi6.7操作系统。
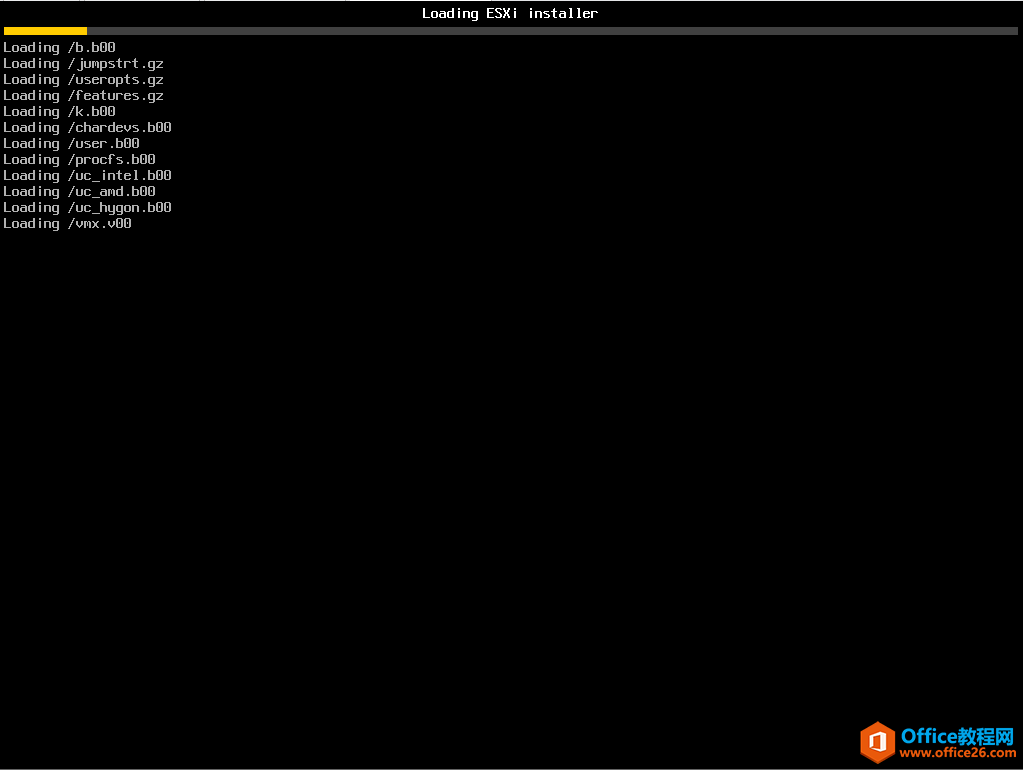
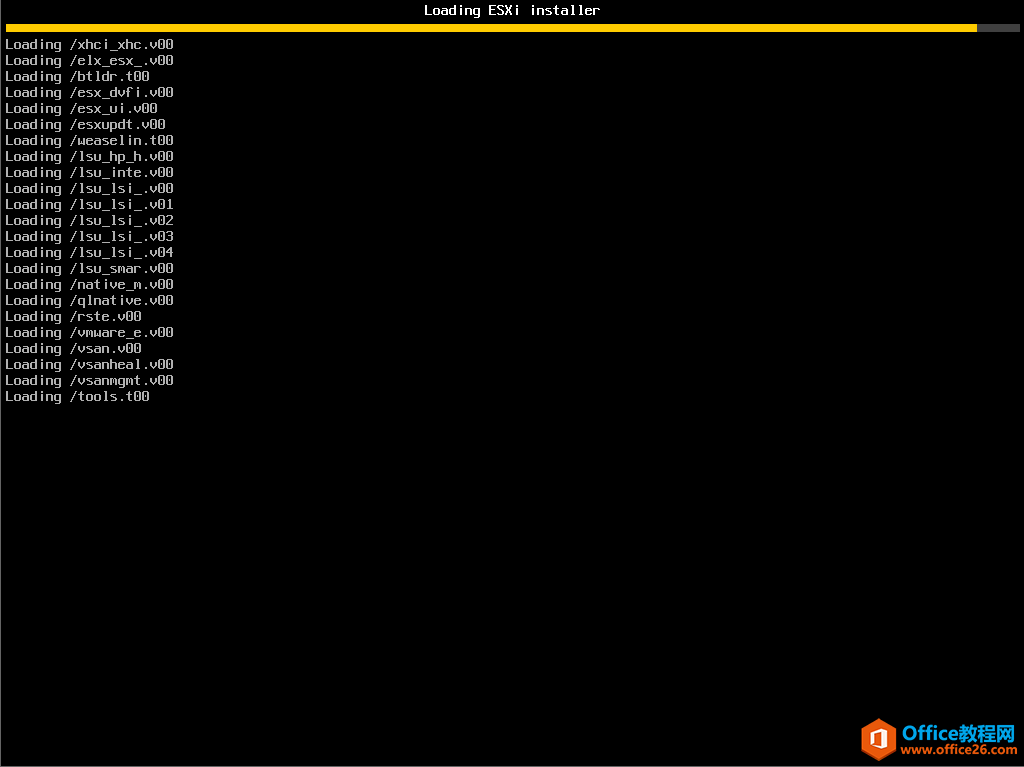
3、加载ESXi 7安装文件。
4、按Enter Continue。
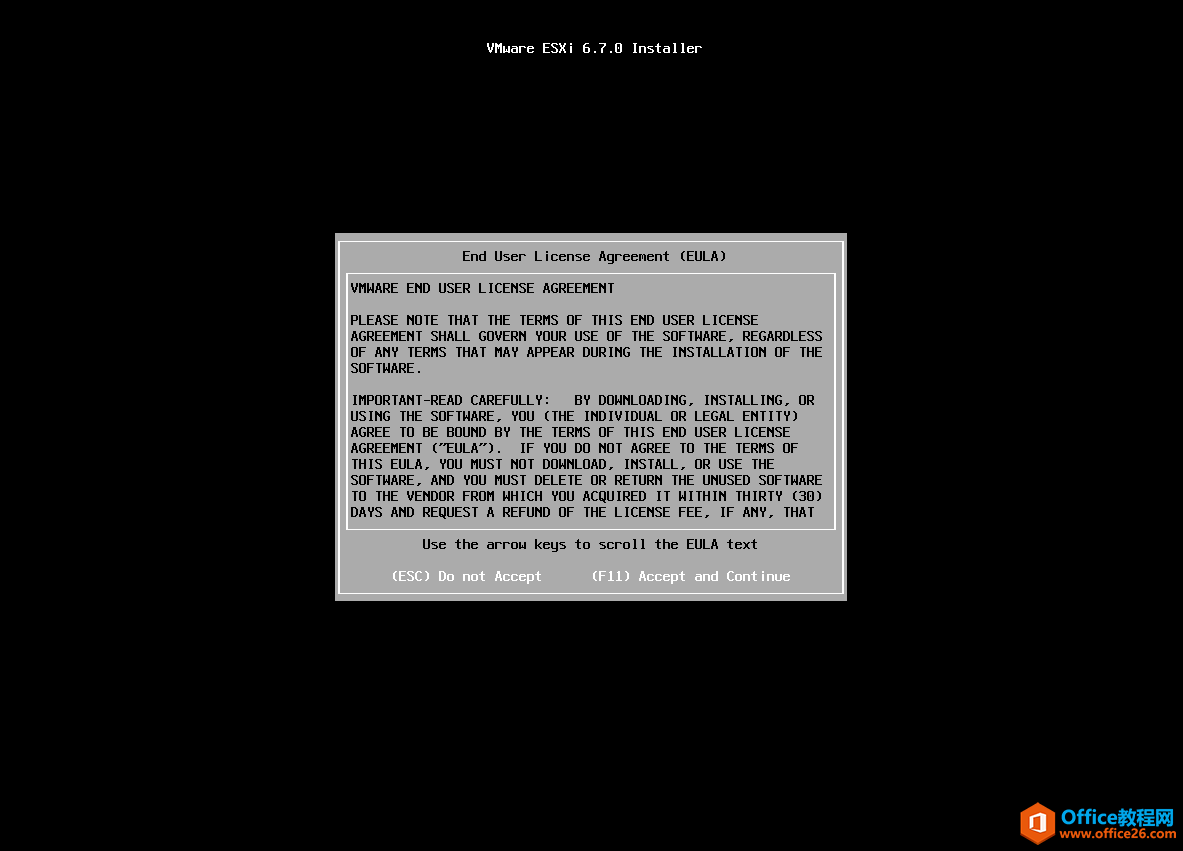
5、按F11,接受并继续。
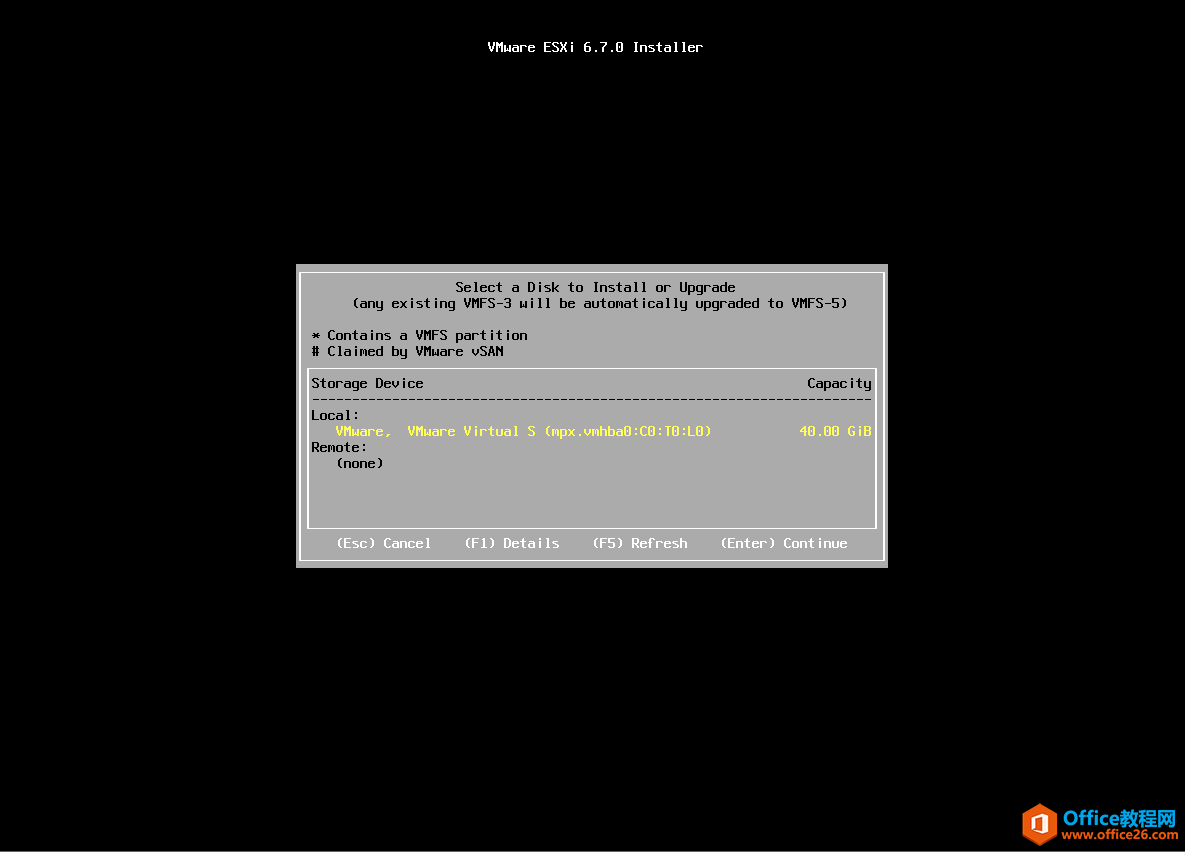
6、选择安装硬盘,如果服务器有多个硬盘,注意选择硬盘位置。
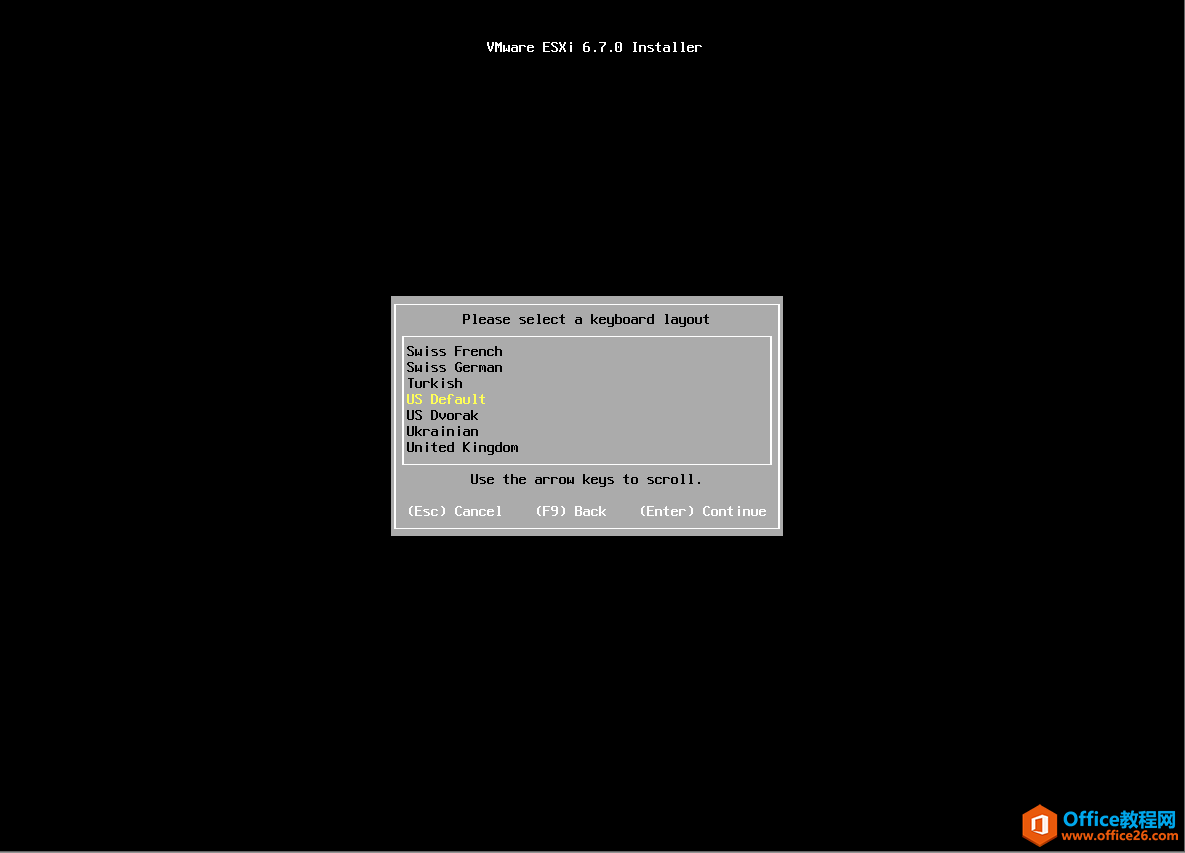
7、选择键盘默认的US Default。
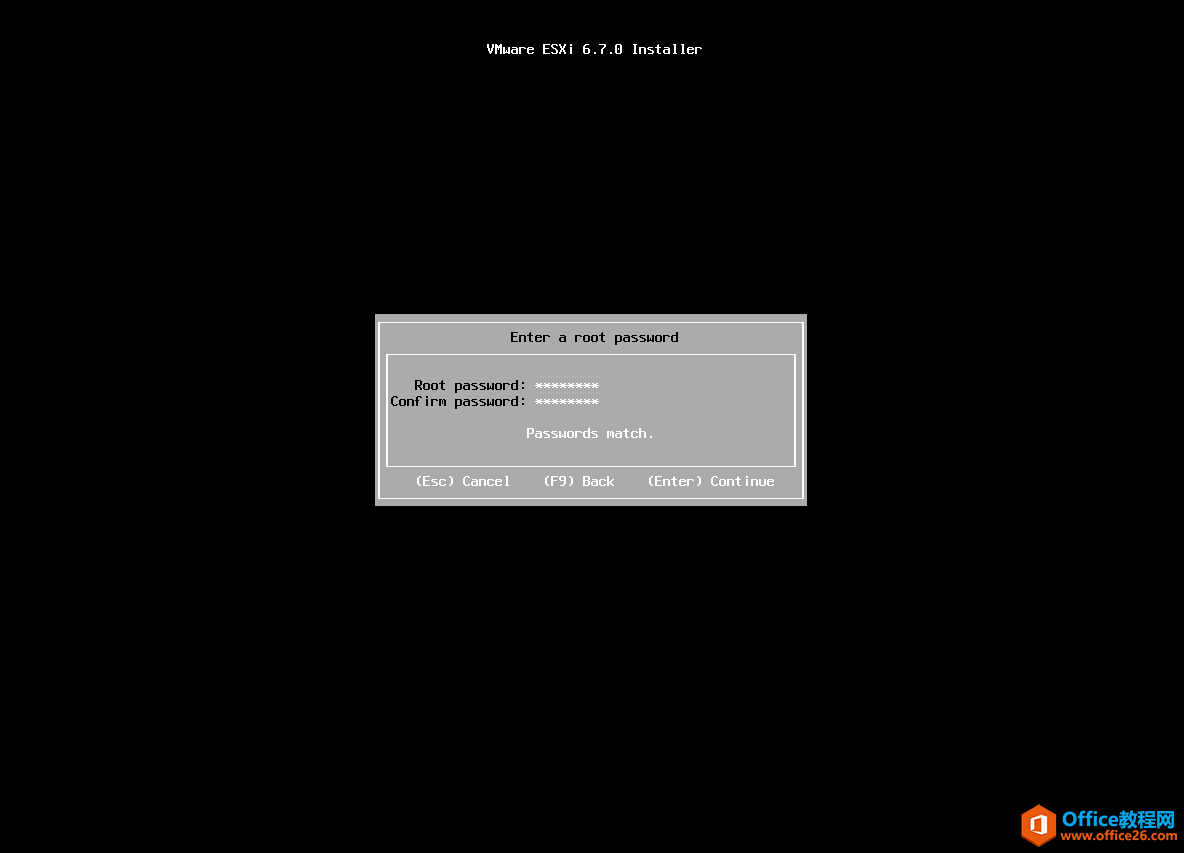
8、创建系统密码。
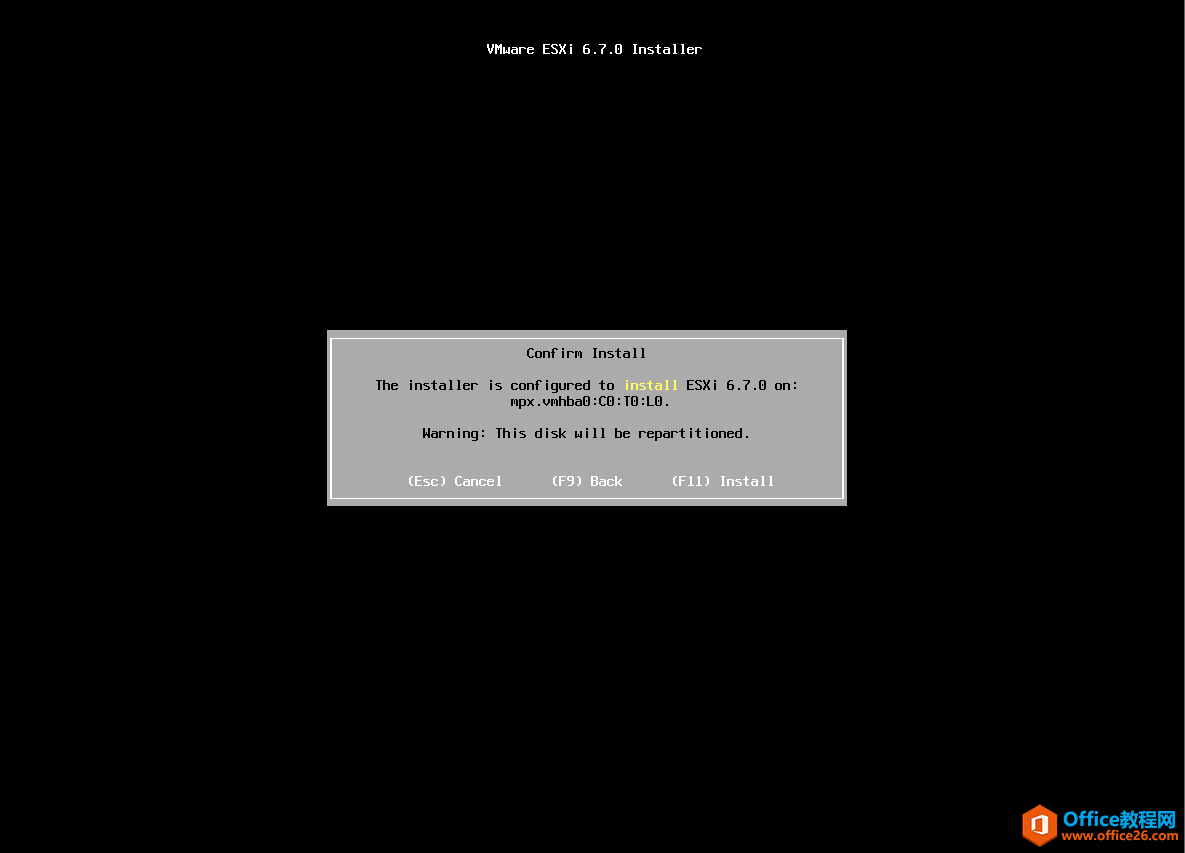
9、按F11 进行系统安装。
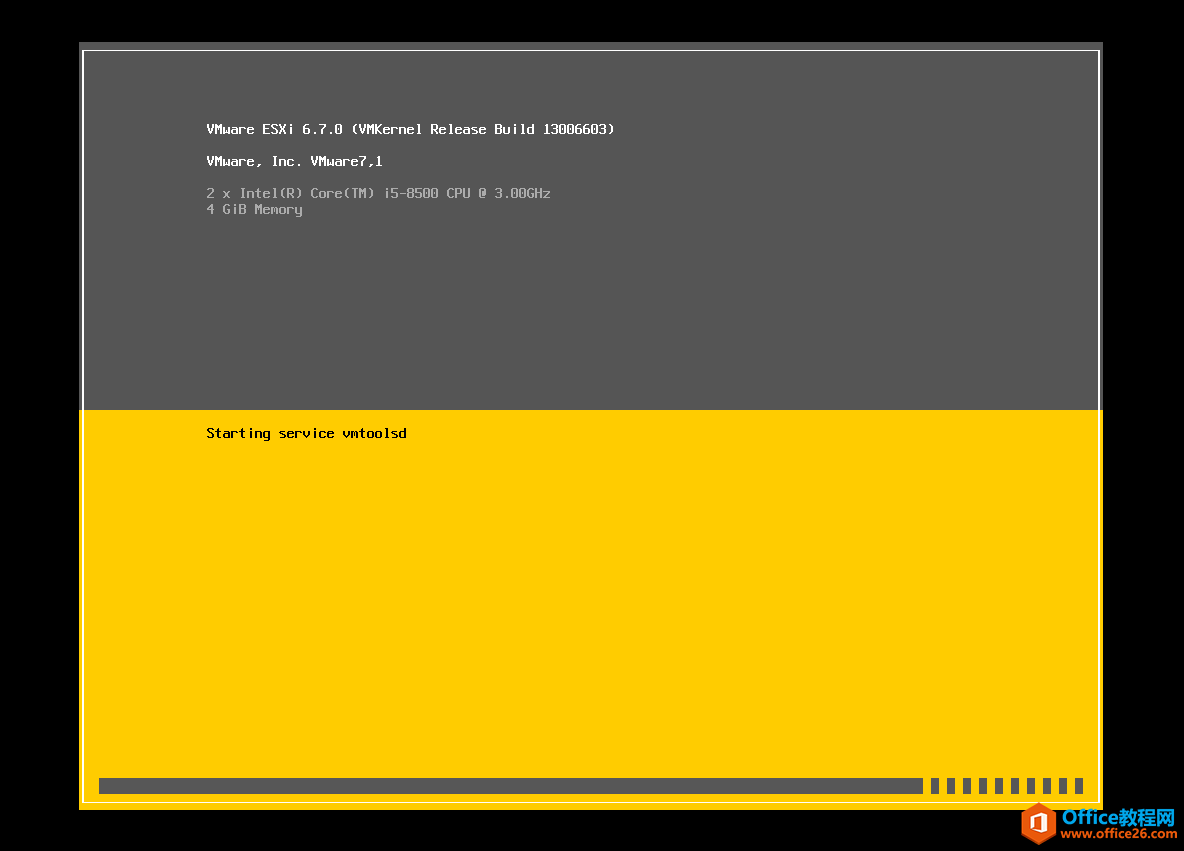
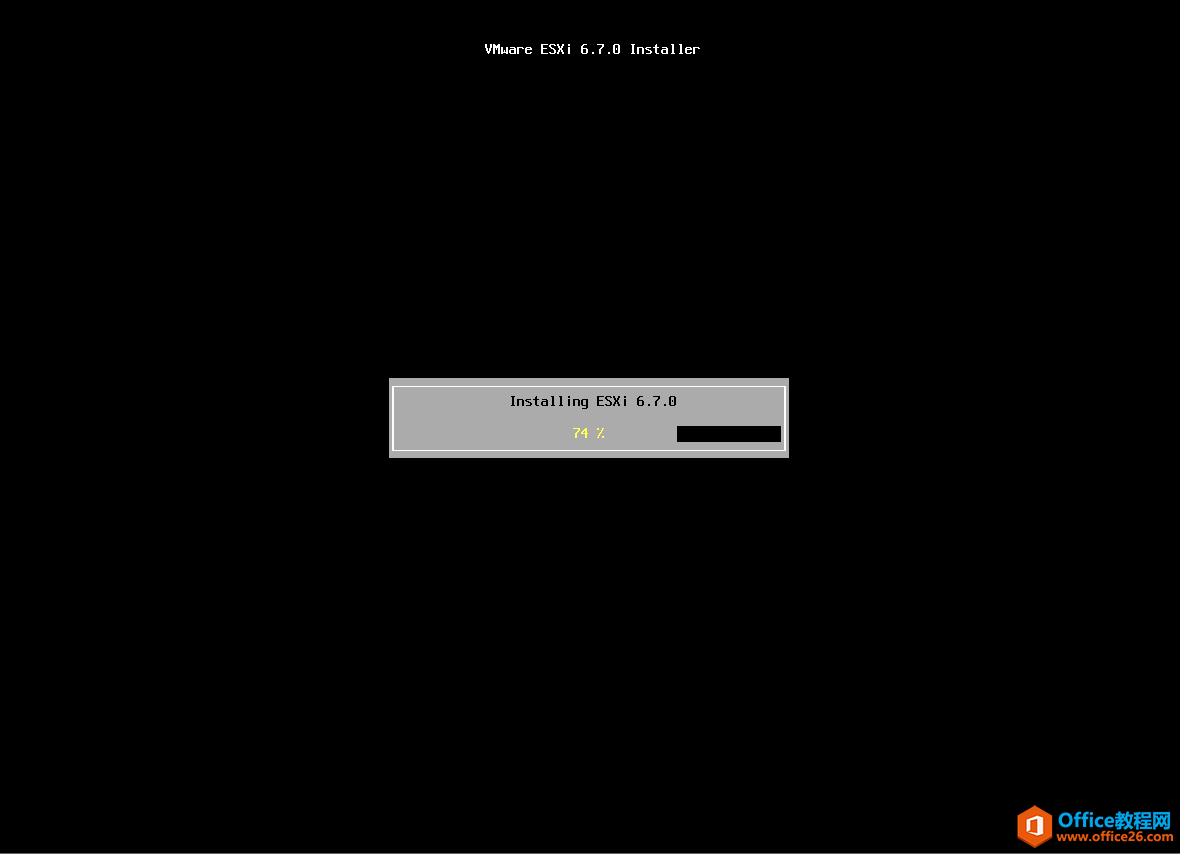
10、ESXi 6.7系统正在安装。
11、安装完成后,按Enter,重新启动虚拟机。
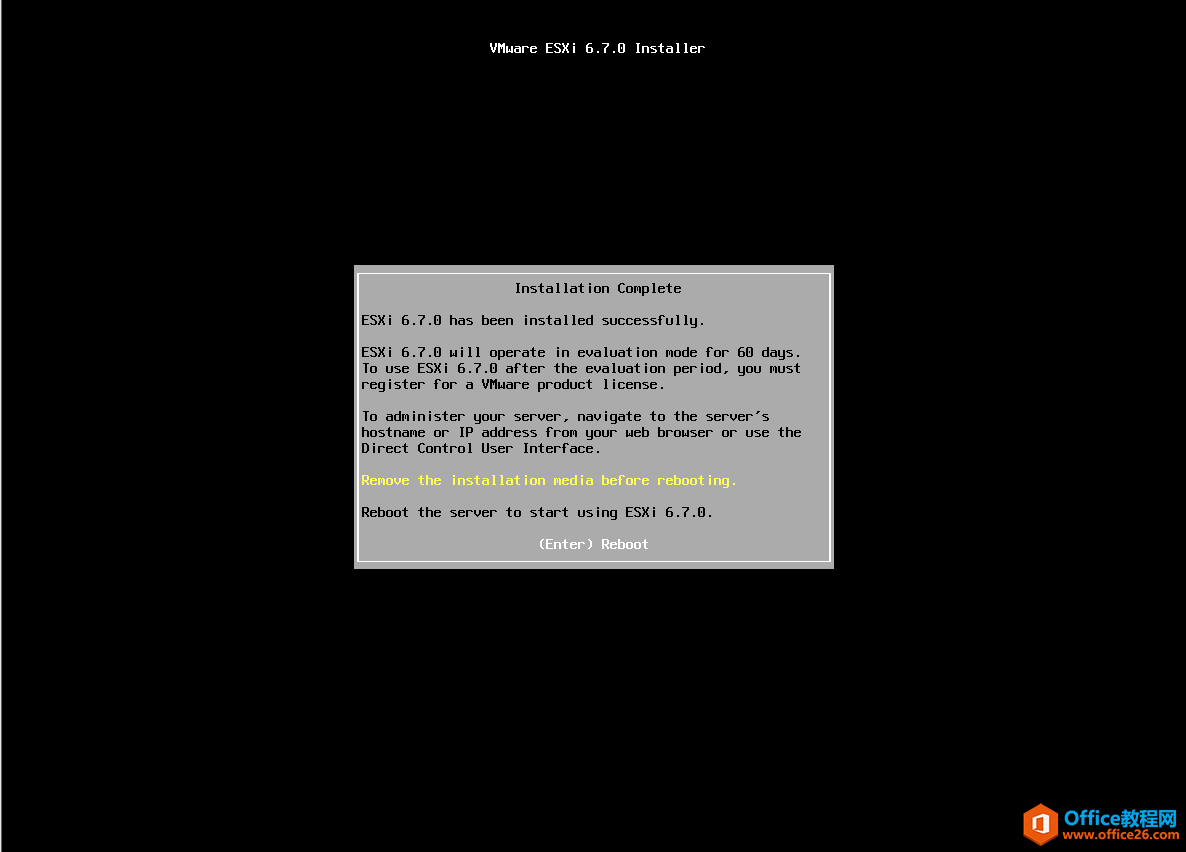
12、ESXi 6.7操作系统安装完成。
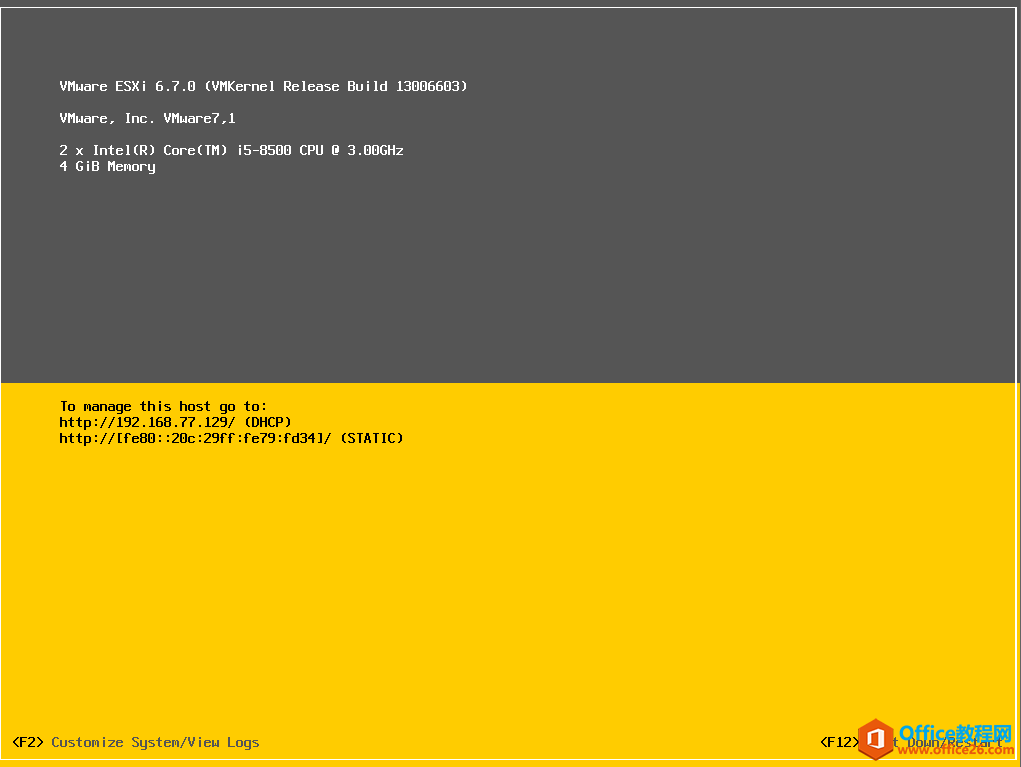
13、在网页中输入ESXi系统IP地址。打开ESXi 6.7WEB界面。
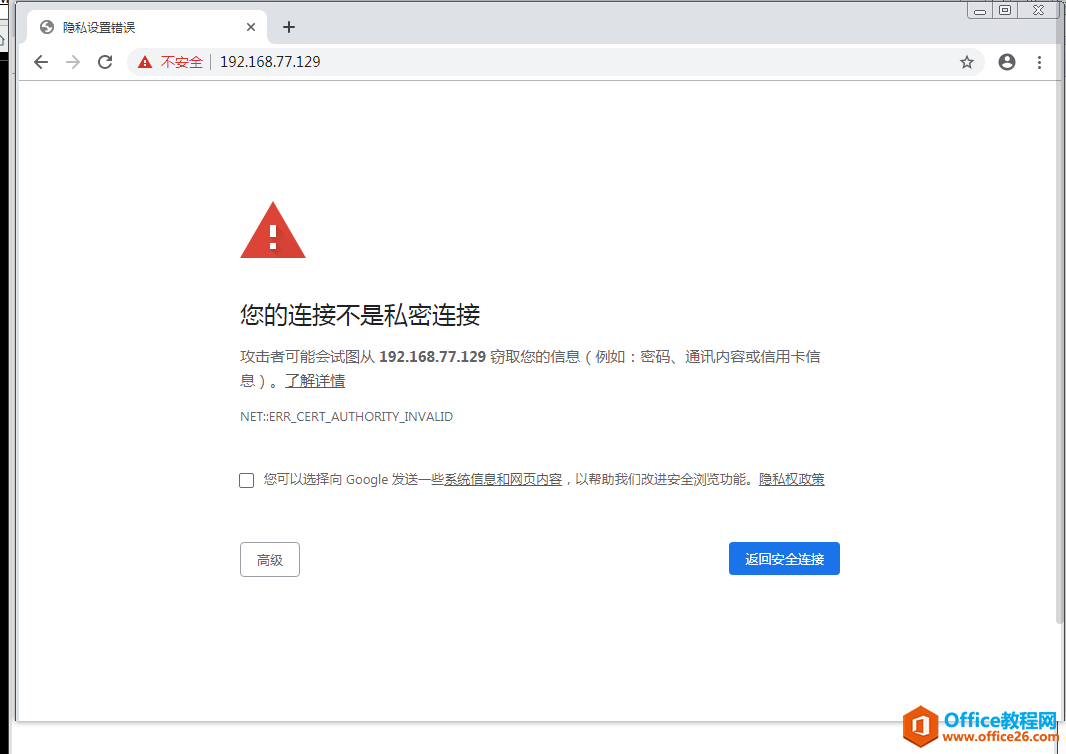
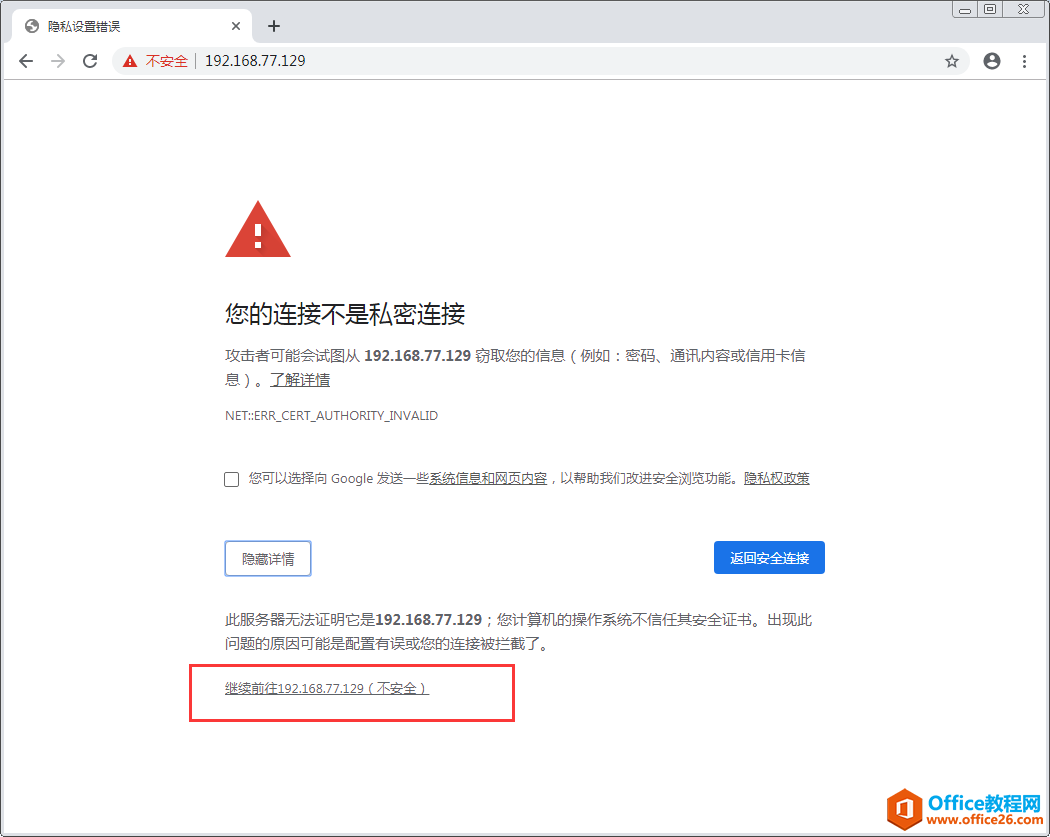
14、选择高级。
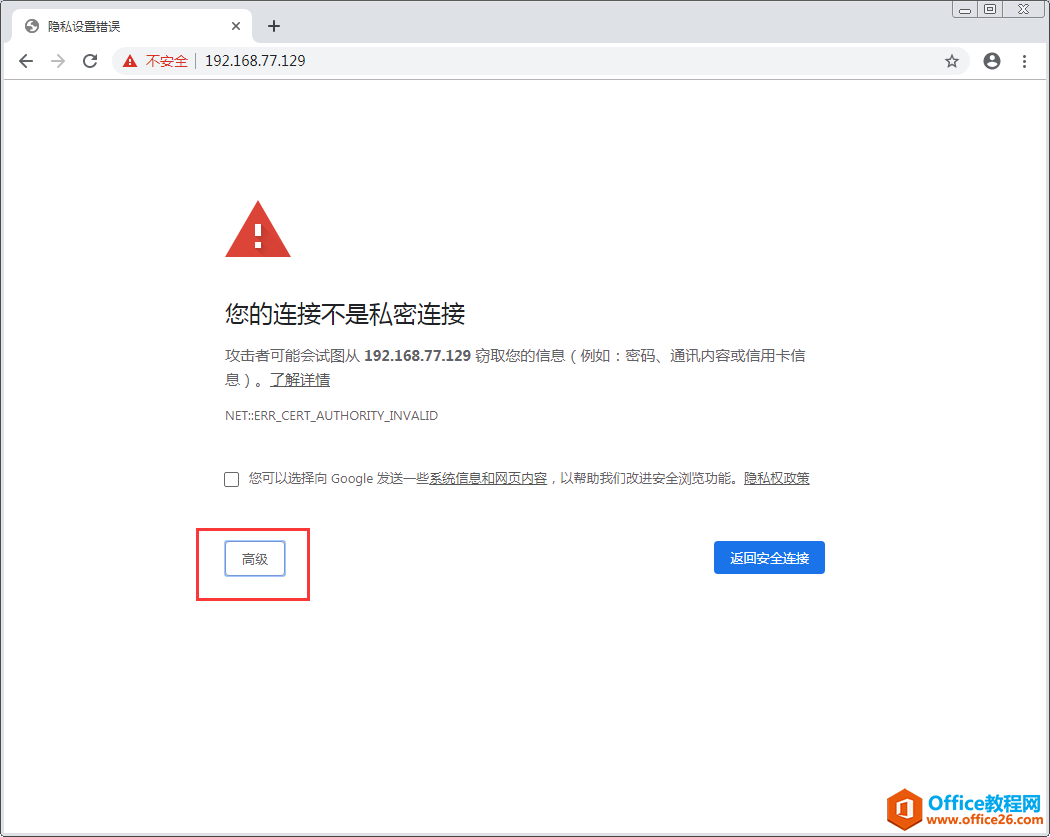
15、继续前往。
16、打开VMware ESXi WEB界面。
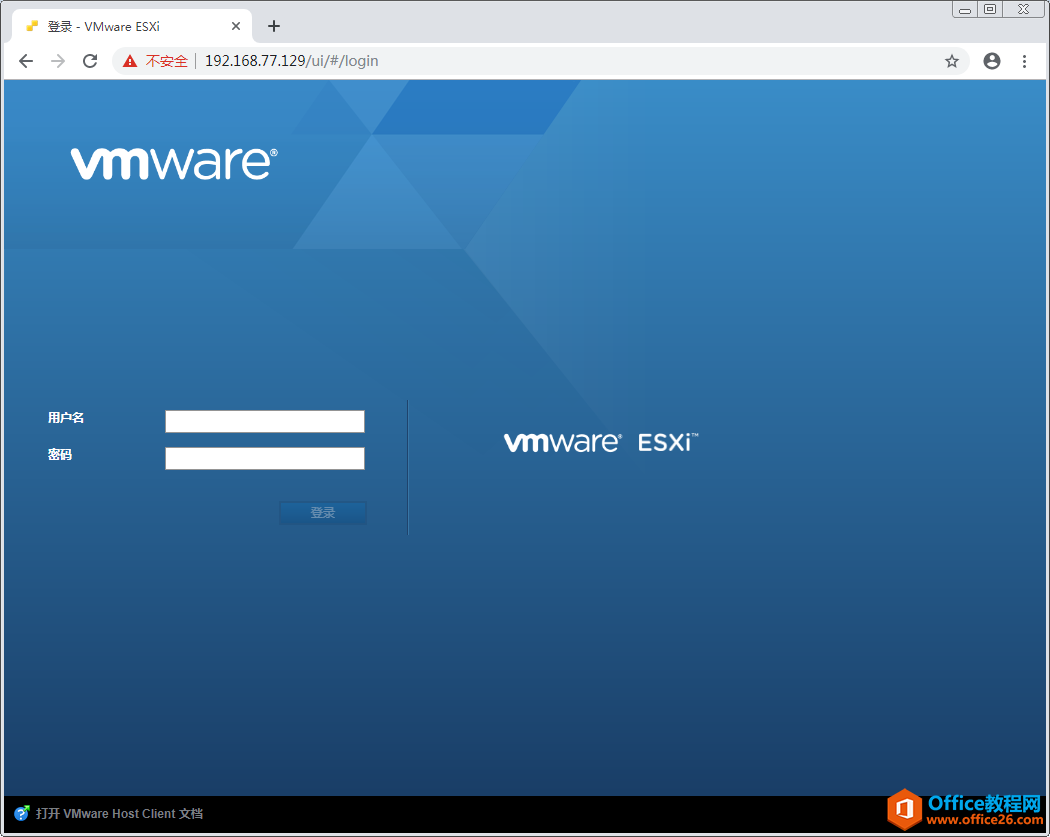
17、输入ESXi用户名root,输入安装ESXi系统的密码。
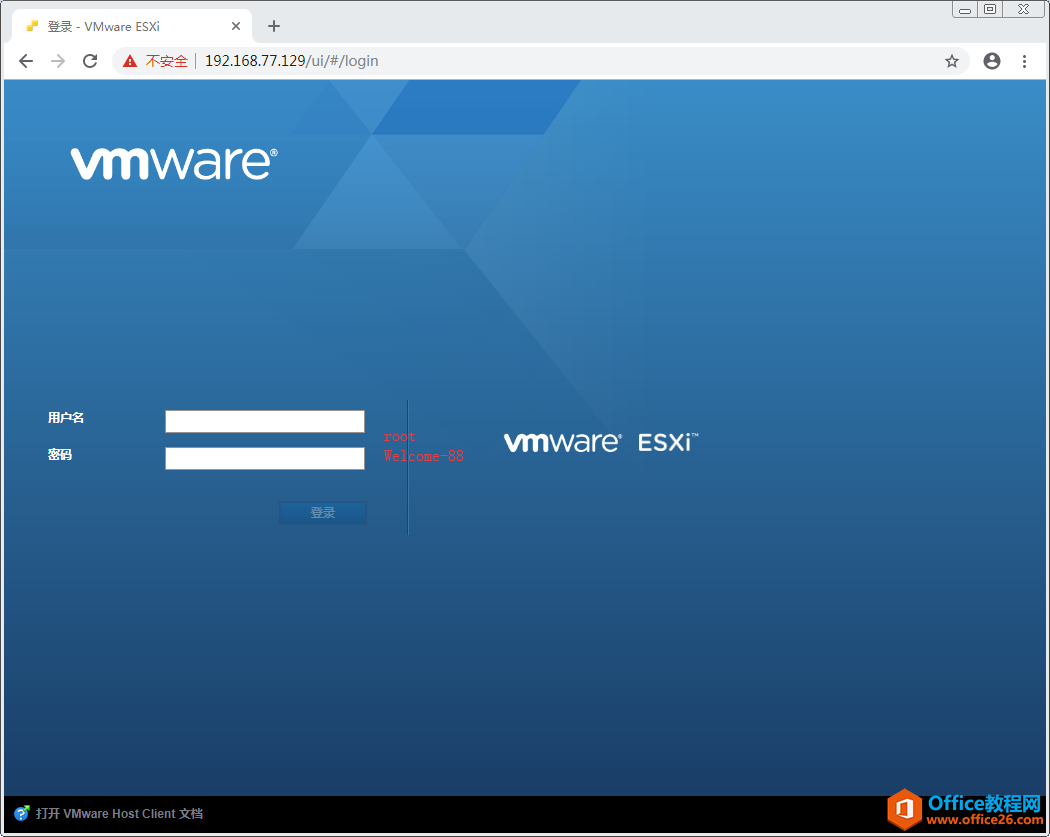
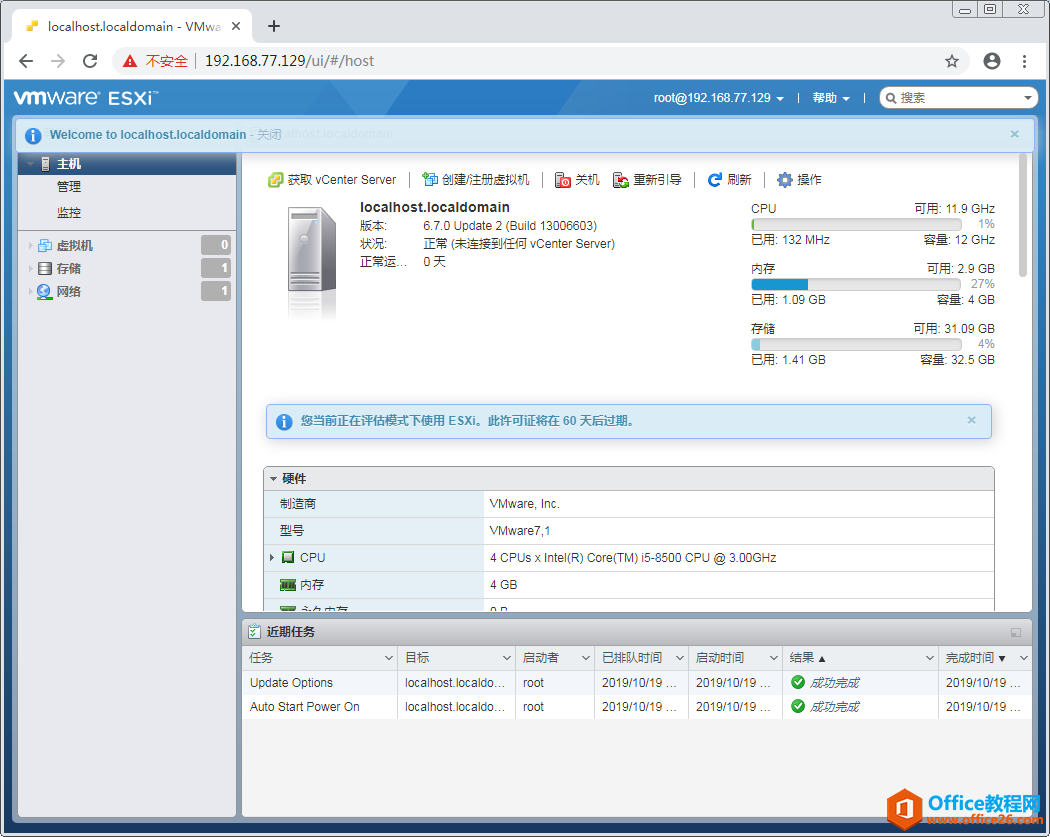
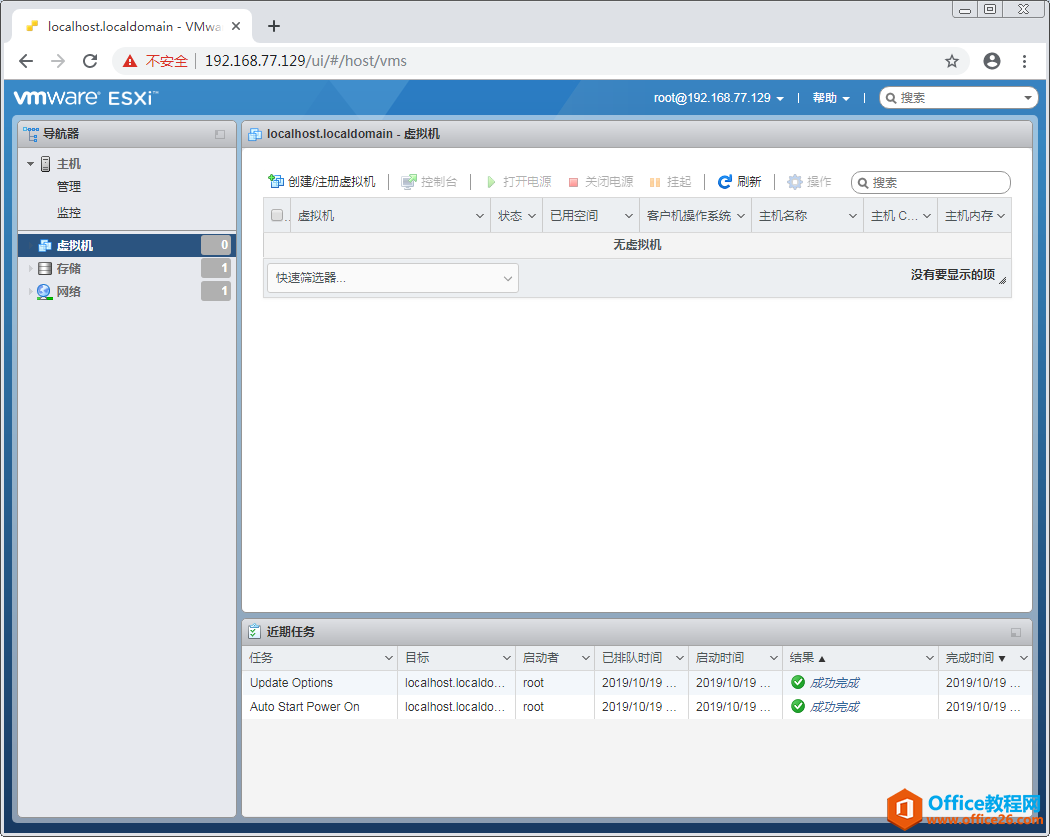
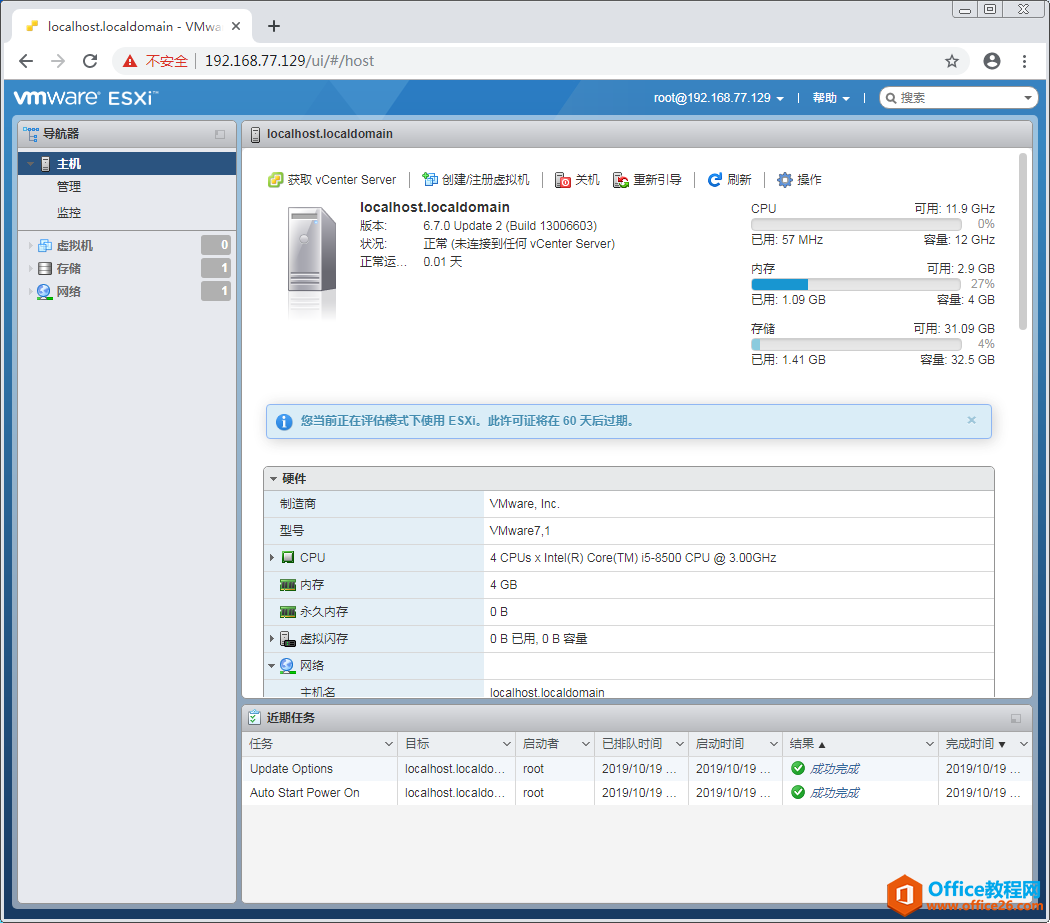
18、登录到ESXi6.7 WEB界面了,可以通过此界面,创建虚拟机等操作。
上一篇:me是什么软件 下一篇:电脑开机不显示怎么办
相关文章
- 详细阅读
-
区块链核心技术体系架构的网络层主要包括什么详细阅读
区块链核心技术体系架构的网络层主要包括:A、网络管理B、P2P网络C、HTD、发现节点E、心跳服务网络管理网络管理包括对硬件、软件和人力的使用、综合与协调,以便对网络资源进行监视......
2022-04-28 328 区块链核心技术
-
软件调试的目的是什么详细阅读

软件调试的目的是:改正错误。软件调试的概念软件调试是泛指重现软件缺陷问题,定位和查找问题根源,最终解决问题的过程。软件调试通常有如下两种不同的定义:定义1:软件调试是为了......
2022-04-28 359 软件调试
- 详细阅读
- 详细阅读