相信已经很少有人用光驱来安装操作系统了,把U盘或移动硬盘制作成系统安装启动盘即可进行操作系统安装。MS酋长之前已经陆续介绍了大量的Win10系统U盘安装盘制作工具,包括:微软官方的......
如何安装Windows系统以ISO镜像文件为例
windows教程
2021-09-19 10:11:26
安装Windows系统(这里以ISO镜像文件为例)流程如下:
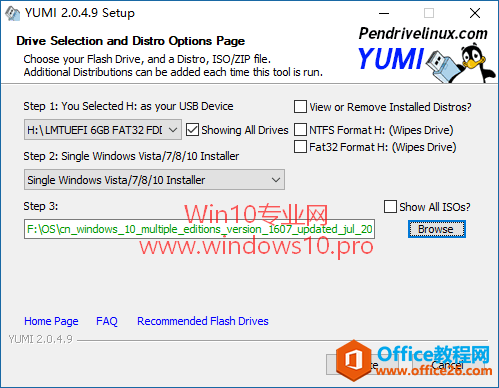
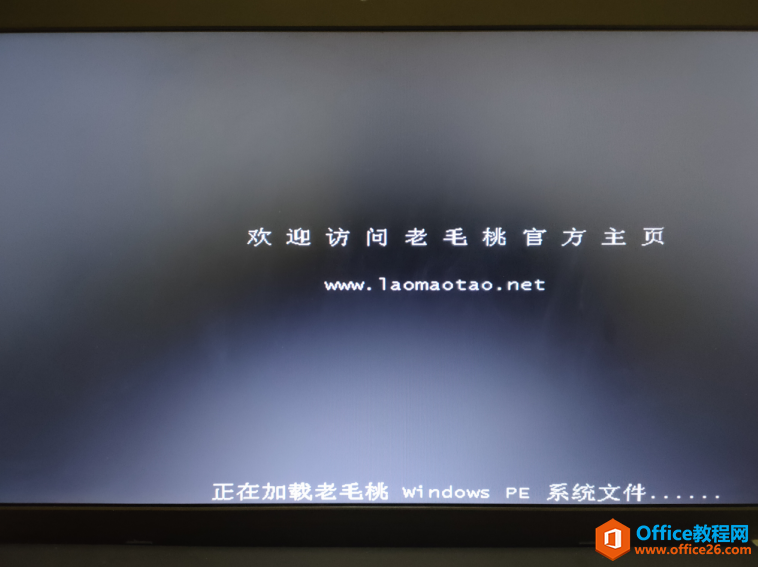
1.插入PEU盘。
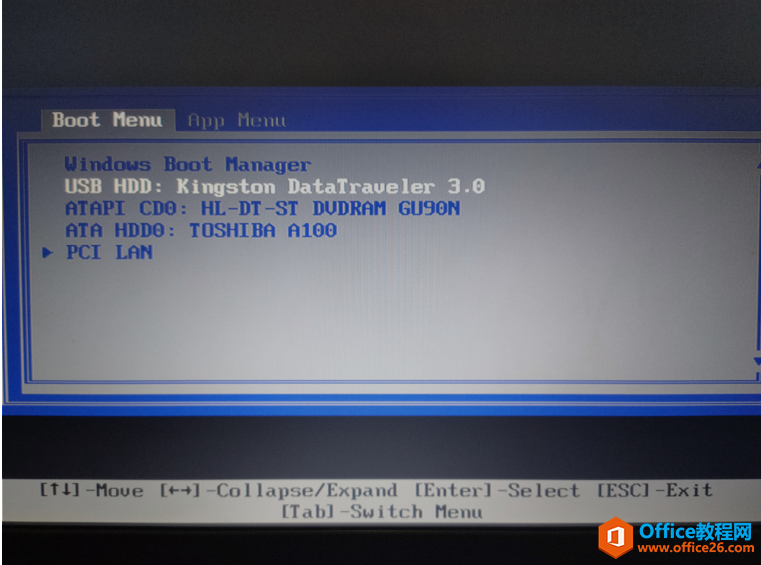
2.联想电脑开机快速连续点击F12(根据不同电脑型号按键不同)进入启动项界面。
3.选择以自己优盘)为启动项按Enter进入Windows PE界面。
4.选择相应的Windows系统进入PE系统界面(这里选择Windows 10 64bit系统启动,如果手动不选择,系统自动进入)。
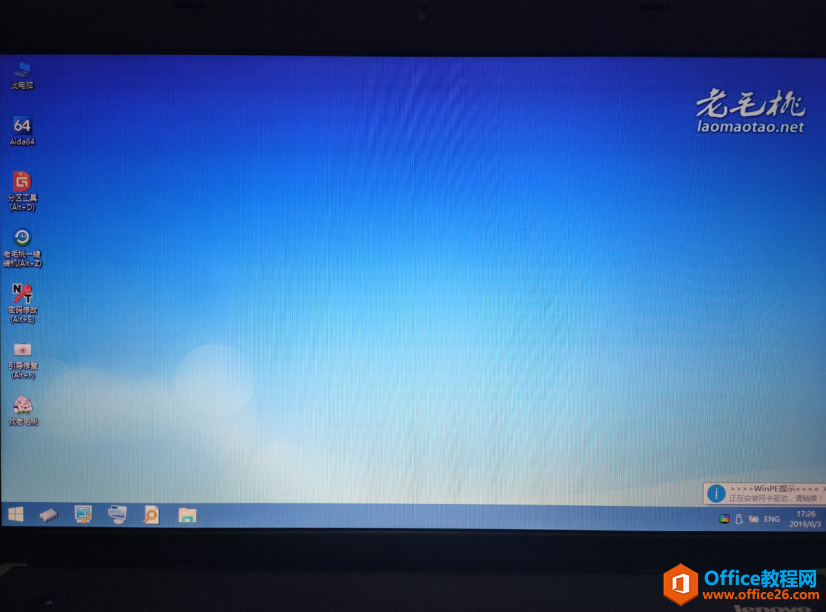
5.成功进入PE系统
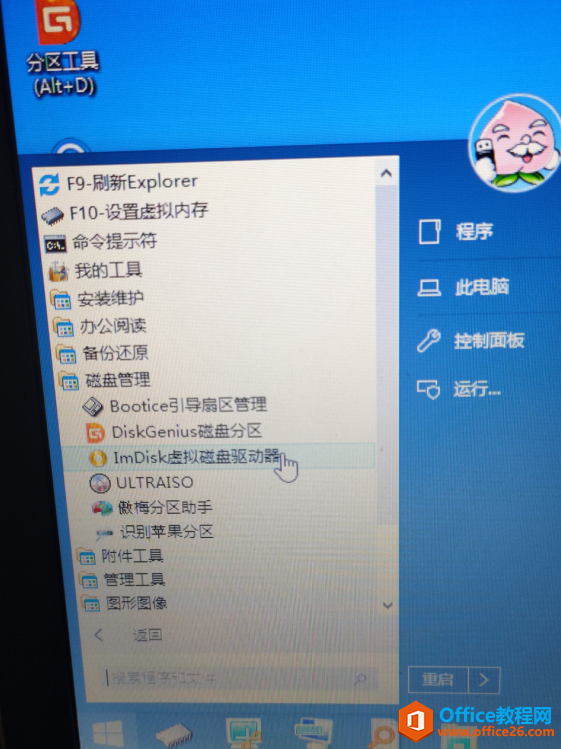
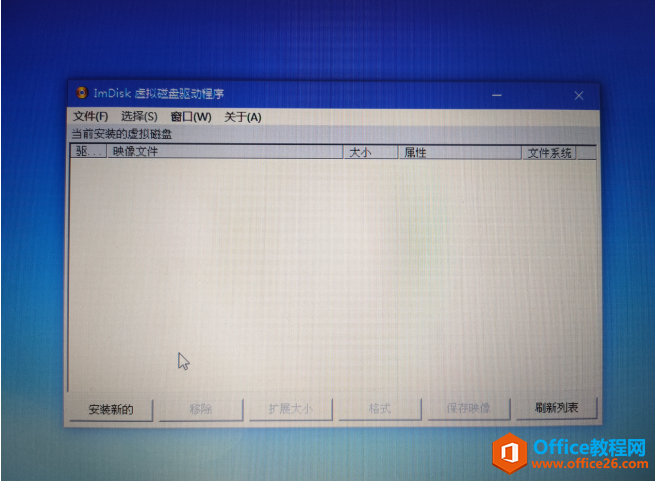
6.在左下角进入所有程序,选择磁盘管理
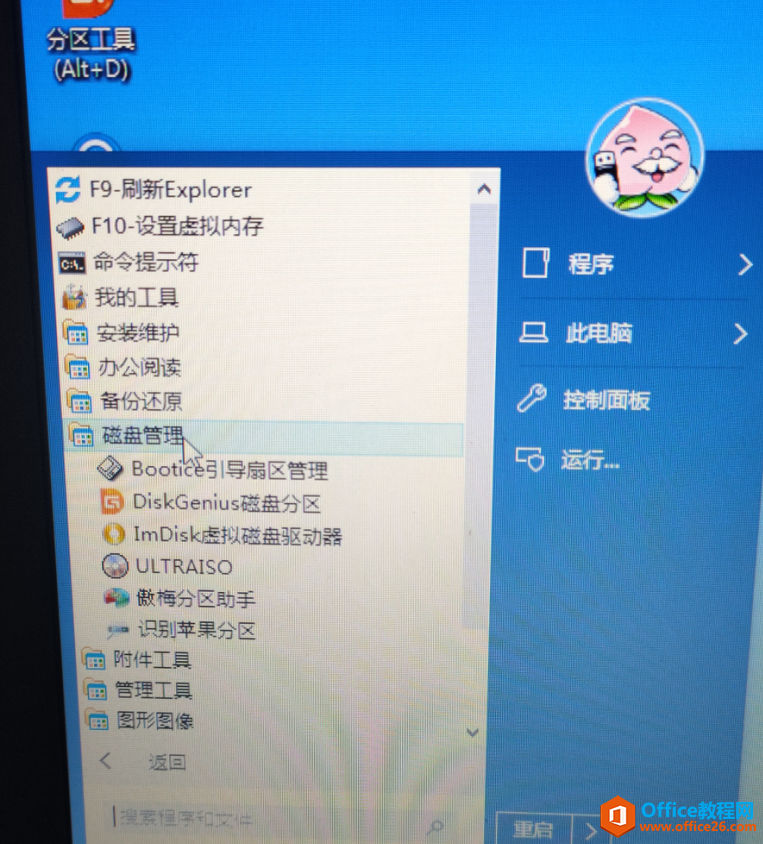
7.在磁盘管理中选择ImDisk虚拟磁盘驱动器进入
8.点击安装新的
9.进入之后,选择第一个映像文件右边浏览按钮。
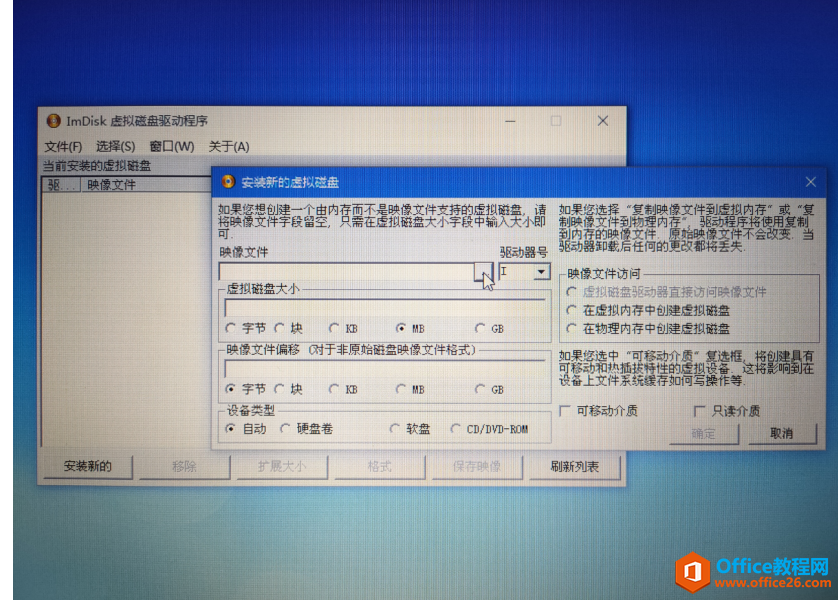
10.选择相应的映像文件打开。此映像文件可以在www.itellyou.cn中下载。

11.选择完映像文件一栏中就会出现刚才所选的Windows映像文件

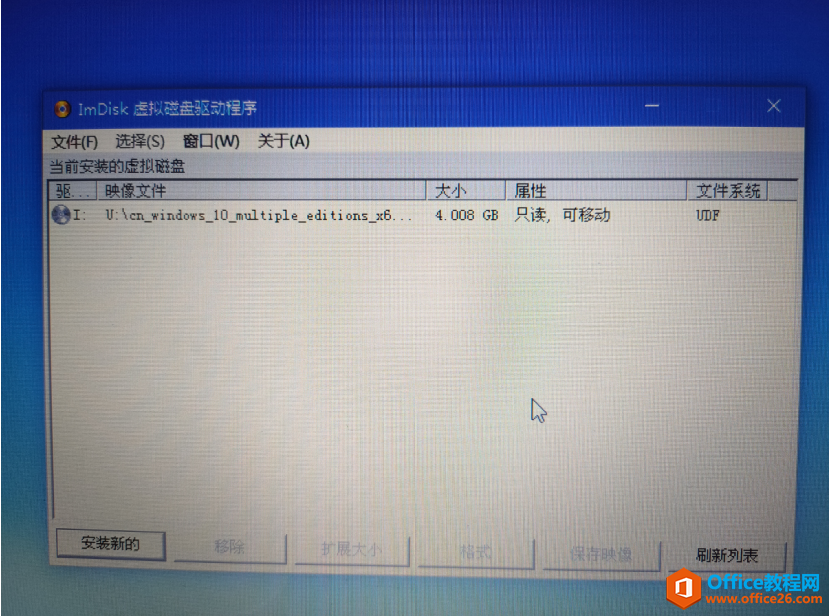
12.选择好相应的映像文件之后,点击右下角确定按钮,就会出现下面所示的相应的Windows映像文件
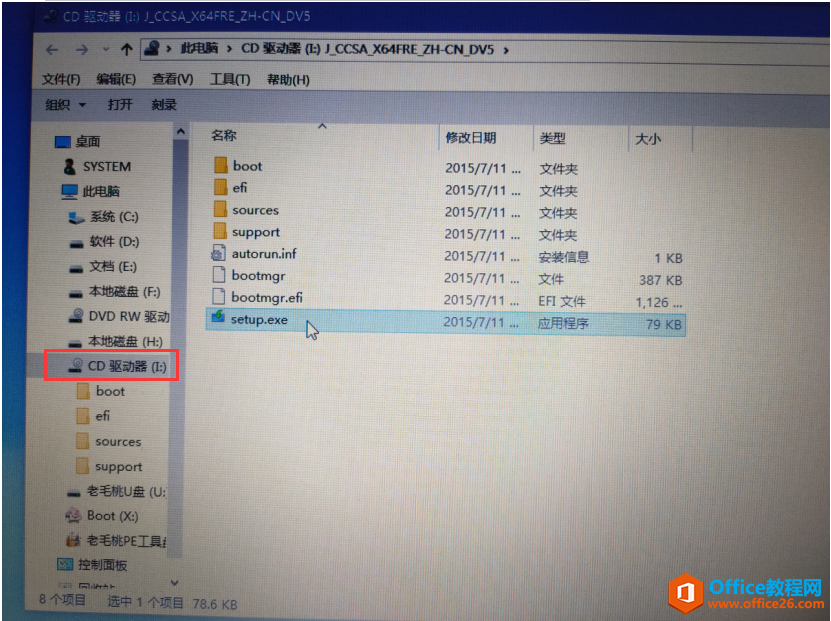
13. 在CD驱动器中,双击映像文件进入后双击setup.exe文件进入安装系统界面
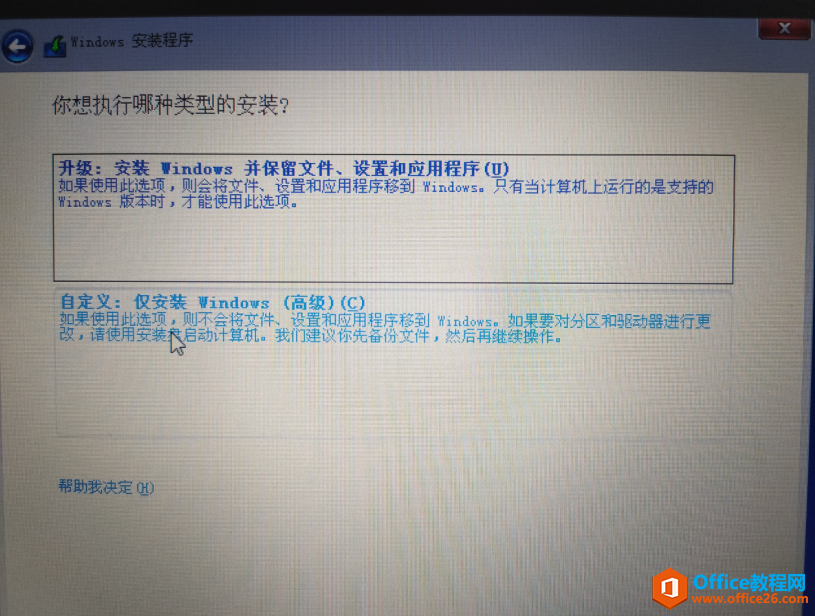
14.安装系统界面如下所示,默认中文,点击下一步

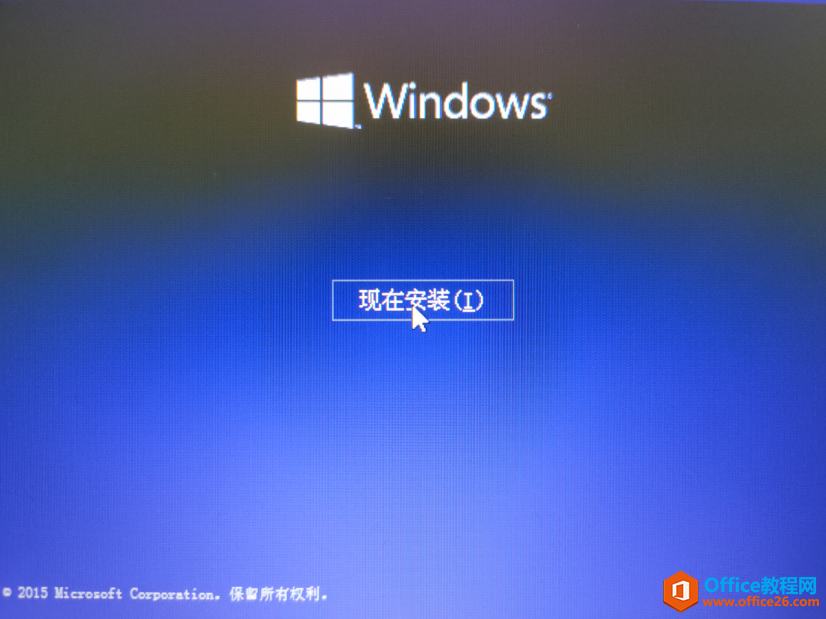
15.点击现在安装
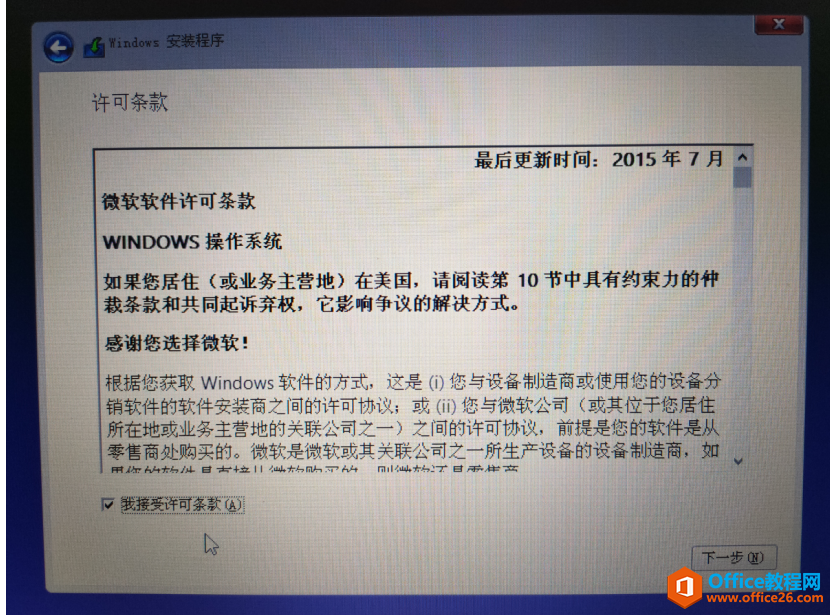
16.在左下角“我接受许可条款”前面打勾,点击下一步
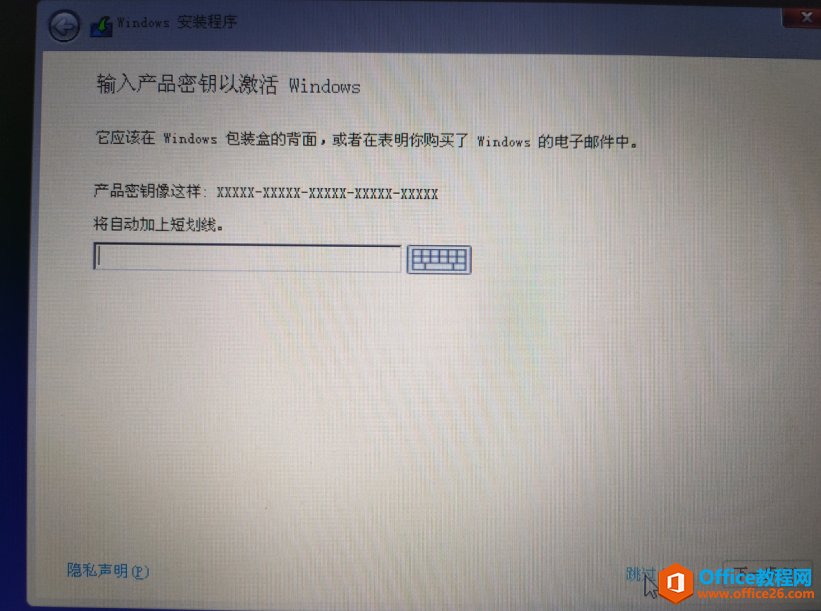
17.这里根据具体情况,若有正版Windows产品密匙可以在此处填写,若没有也没关系,可以点击下一步或者跳过都可以
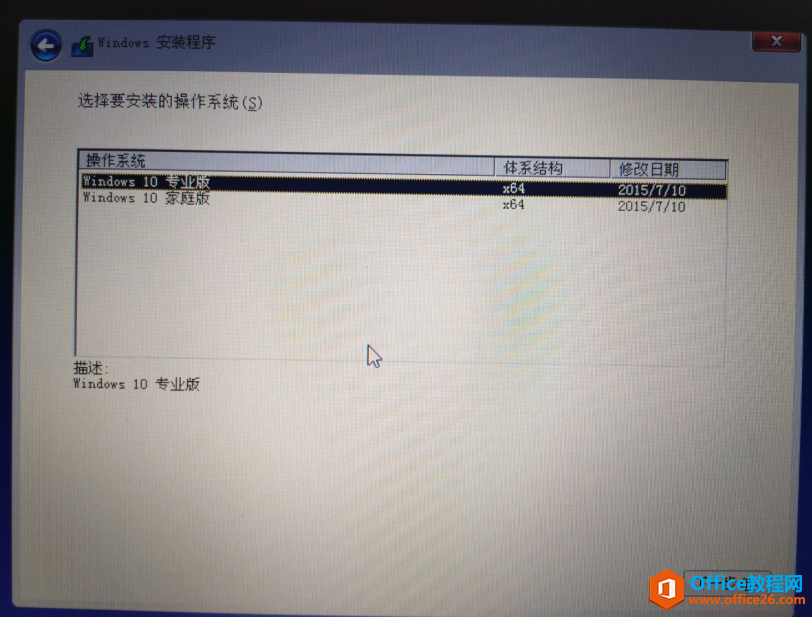
18.一般选择Windows 10 专业版,若是家庭个人用户,也可以选择家庭版,然后点击下一步
19.这里选择自定义安装
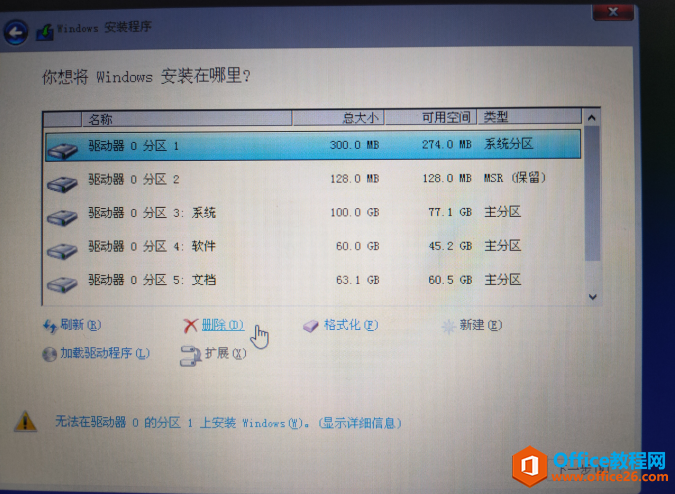
20.选择相应的分区进行安装,需要将系统分删除或者格式化一下,然后选择未分配的驱动器,点击下一步安装即可。这里需要注意的是,如果你安装的是Windows 10的系统,你就需要在安装之前在PE系统的分区工具里面将分区格式转换为GPT格式的(在分区工具里选择磁盘),然后在BIOS设置里的启动模式更改为UEFI的启动模式,不然到了上面这一步,它就会提示你,没有可以安装的可用分区,或者找不到分区的错误信息。
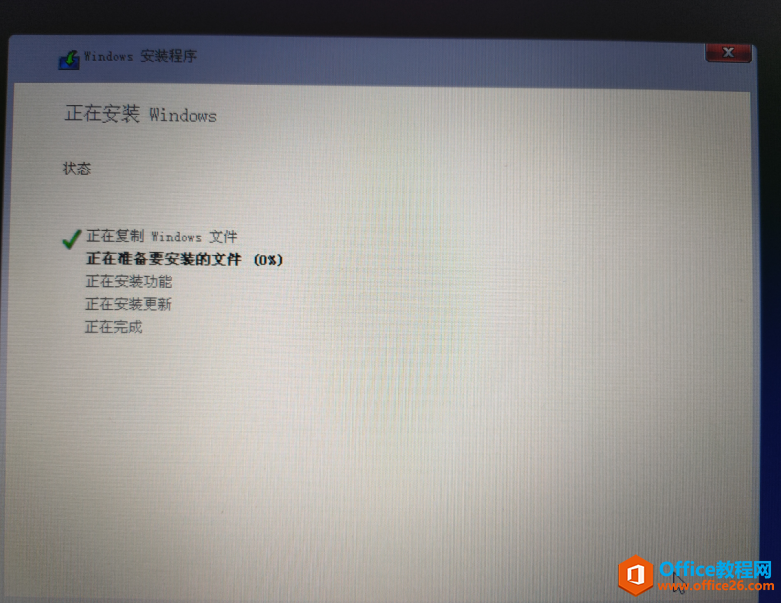
21.系统安装界面,最后等待安装完成即可成功安装Windows 系统
相关文章
- 详细阅读
-
如何为Win10家庭版开启组策略编辑器功能详细阅读
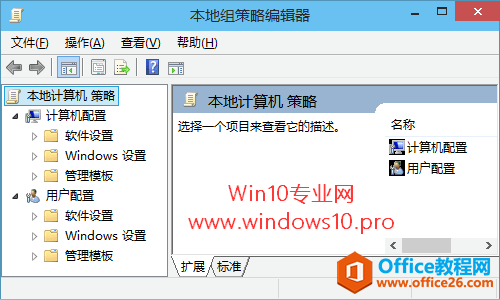
经常访问Win10专业网的朋友在看到需要编辑组策略的文章时,会发现,每一个教程都提供了两种方法:方法一是配置组策略;方法二是修改注册表。而两种方法的效果则是相同的。之所以这样,......
2022-04-19 316 组策略编辑器
-
Win10下如何使用DISM命令修复Windows映像详细阅读
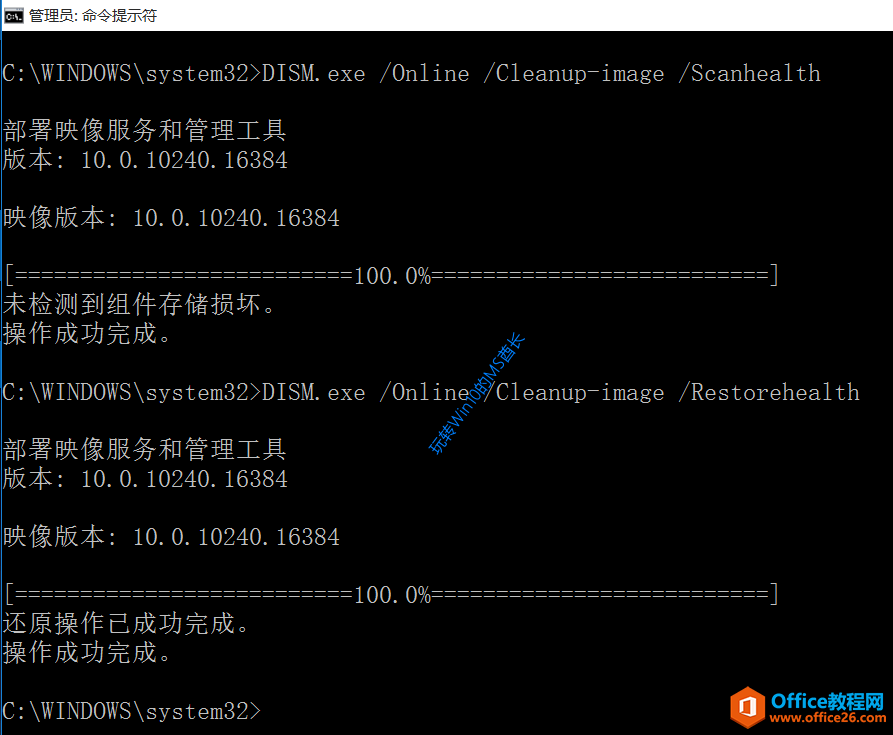
DISM工具是一个部署映像服务和管理工具,已经陆续分享了一些DISM工具应用技巧。实际上使用DISM工具还可以修复损坏的Windows映像,下面我们来看一下微软官方的使用DISM工具修复Windows映像教程:......
2022-04-19 55 DISM命令 修复Windows映像
- 详细阅读
- 详细阅读